Showing posts with label Nature. Show all posts

Friday, April 22, 2011

Earth Day

It's Good Friday AND Earth Day!

Today we had a really nice family day.  We talked about the meaning of Good Friday and how Easter is really not all about the Easter bunny.  The kids are well aware of this but, in today's marketing driven world, there is always a need to reinforce things.

Then, I had a few fun Earth Day activities lined up for the kids.

Nature Scavenger Hunt
I found this spring scavenger hunt and thought it would be perfect for Earth Day!
I wrote out a list of 12 items for the kids to look for: pine needles, grass, acorns, mulch, pinecones, green leaves, dried leaves, a rock, a stick, moss, sand, and dirt.  I sent them out with an old egg carton and the hunt was on!


They were quite proud of themselves for working together to finish the hunt!


Mud, Dirt, and Worm Snack
I put chocolate pudding in a bowl, covered the pudding with oreo crumbs, and stuck in a few gummie worms.


Sarah and Jillian had seen this snack before - Matthew had not and his reaction was precious!
"Mommy, is that real dirt?" 
"Mommy, can you take the dirt off the gummie worm?"
"Can I eat it?" 


Recycled Milk Carton Wallet
I found this idea at Family Fun.  They have instructions, a video, and the template to make the wallet.  This was a 'mommy craft' and actually took longer than I thought it would.  Some of the folding can be a little tricky.  But, the kids love it and each want one of there own - so I will be cutting up a few more milk cartons tomorrow!


I love how it is the carton's cap that keeps the wallet closed.


Jillian loves it too!

Hope you had a great day too!

Tuesday, April 5, 2011

Footprint Robin

 Yesterday I asked the kids to keep an eye out for robins - explaining that robins are a sure sign of spring.  Luckily, we saw a bunch during our morning errands.  One of the errands was the library where I checked out a few books on spring and robins to tie in the theme.
At home, I had this cute footprint robin craft from Moments of Mommyhood.  Sarah opted out of the craft but Matthew was right into it and loved having his foot painted.
He was pretty impressed when I added the 'extras' and turned his footprint into a robin! 


His footprint makes a pretty cute little bird!


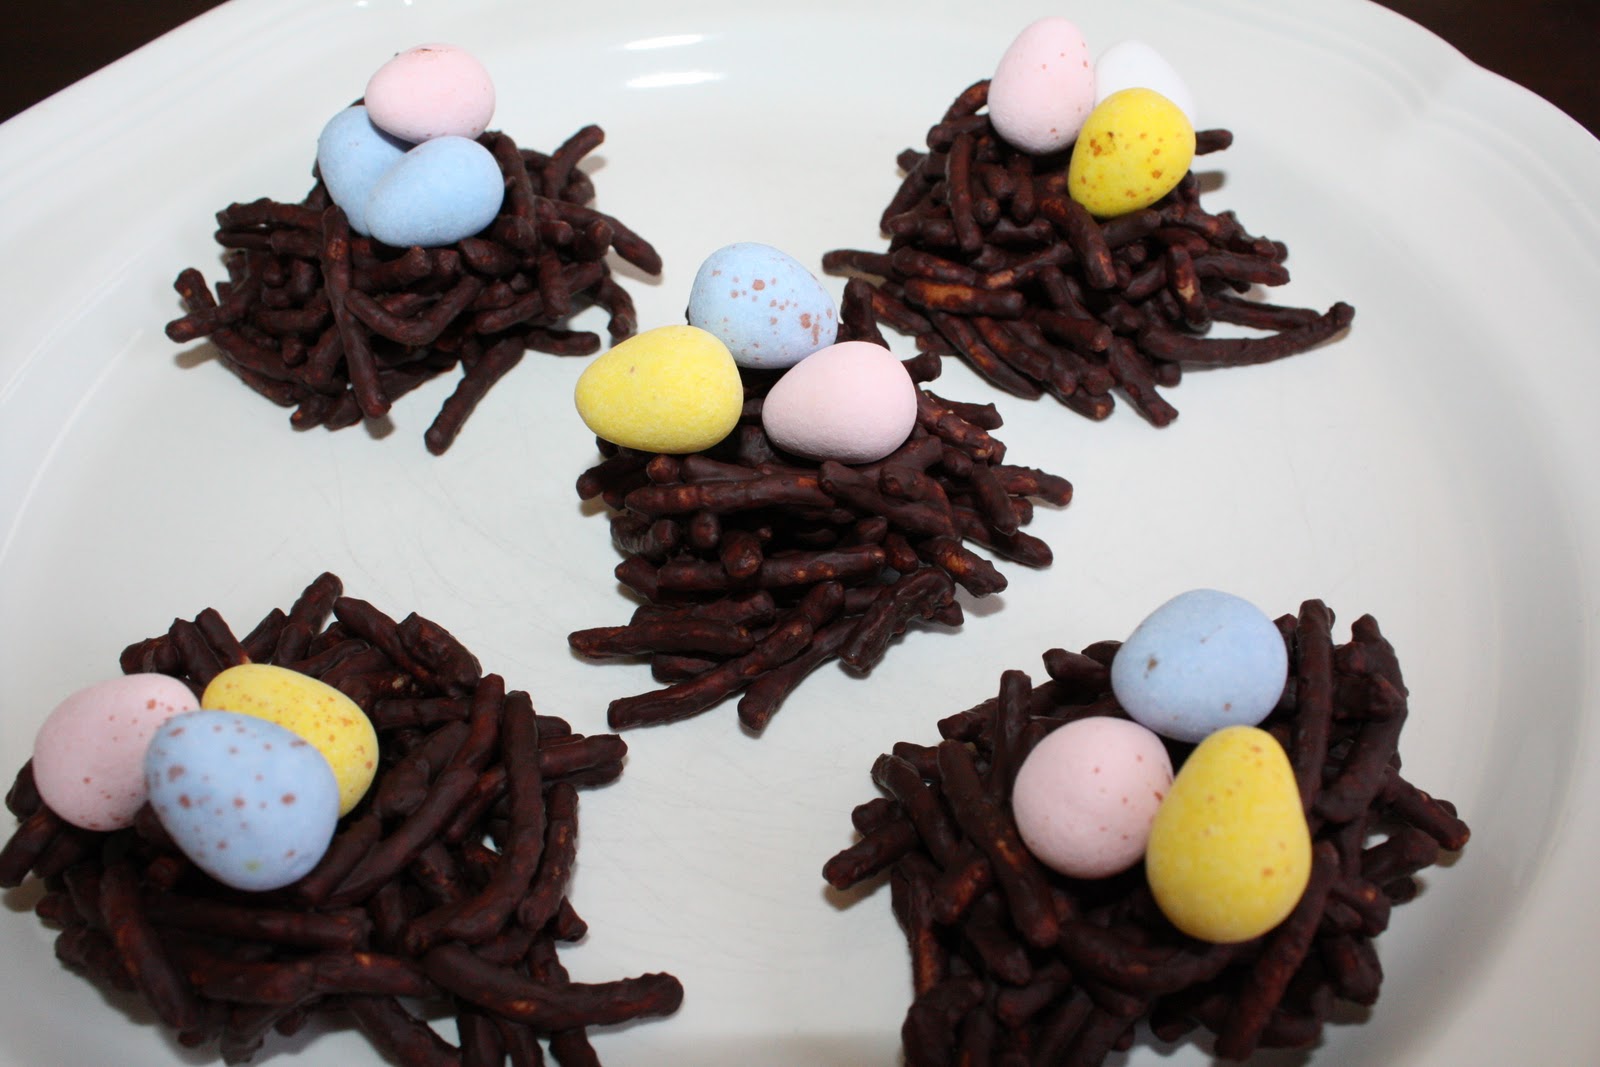
Chocolate Bird Nest Snack
{we actually made this snack last week and I haven't had the chance to post it, so I thought I would add it to this post and round out the robin theme with a little bird nest treat!}

Here is a pretty classic Easter/spring-time snack.  There are many different versions on how to make the nest but I just stuck with the easy one.  I simply melted some chocolate and stirred in the chow mein noodles, molded them slightly into little nests on a cookie tray lined with parchment paper, and put them in the fridge to set.


Matthew's favorite part of baking with Mommy - licking the spoon!


Once the nests were set I put a few mini eggs on the top and they are ready to go!


YUMMY!

Saturday, February 12, 2011

Birdseed Valentine Ornament

We have previously made gelatin based bird seed ornaments.  It was a super easy recipe - add 2 packages of Knox gelatin to 1 cup of water, simmer on low in a medium sized pot until the gelatin is dissolved, add 2 cups of birdseed, stir and pour into mold.  Set in fridge for at least 2 hours.

They turned out great!  However, because the gelatin base is so soft the birds {and squirrels} devoured the ornaments within minutes right before our eyes.  While entertaining for the kids, I wanted an ornament that would last a little longer!

So, here is a new recipe that we tried with great results!

Birdseed Ornaments
3/4 cup flour
1/2 cup water
3 tablespoons corn syrup
4 cups bird seed
Mix well and set in molds
Dry for 4-6 hours, take out of molds and turn over, dry for another 4-6 hours.


This is a much drier mixture which made it very easy to work with.  I used an old spring form pan with an upside down glass in the center to shape the wreath.


And here is the finished product!
Love it!


We also filled a Valentine mini cake pan.
{we poked holes for the ribbon with a darning needle while it was still wet}


And here is our sweet little Valentine present for the birdies!


This new recipe will be the one we use from now on!

Happy Valentine's Day to our little tweet friends!

Wednesday, January 26, 2011

Sun Catcher Ice Art

Bring on anything with water and food coloring and you have one happy Sarah!
We thought we would try another ice decoration that we found here.


Once your ice cubes are frozen put them into a dish or container of cold water that has already been in the freezer for about an hour and then freeze again.

Here is Sarah's SUN CATCHER!


Friday, January 14, 2011

Decorating with Ice

Our little Sarah loves the snow!  She will take snow in the face and keep on laughing, snow down her back and keep on playing, wet winter gloves and keep on smiling.  Our little snow baby!

I sent her out with a bowl to collect twigs, pine needles, leaves and berries.  We added some water and let it freeze overnight.  I tore a handle from a brown paper gift bag and put it into the freezing water so that we could hang it from a tree.


Here is her outdoor ice decoration!


Then we filled a plastic shell that our apples come in with cranberries and some frozen blueberries.


We added water and pushed yarn into each section so that it would make a winter garland when frozen.


Here is our frozen ice garland hanging on a tree.  As it melts we will see if the birds like the cranberries and blueberries!


Thursday, December 23, 2010

Cranberry Popcorn Garland

We sat down to make our house a little more festive.  This time we strung together popcorn and cranberries on baker's twine.


I have some long, thicker needles that the girls used to thread the popcorn and cranberries.  There still were a few finger pricks and tears but overall the girls enjoyed the craft.


Matthew wanted to play the itouch instead of helping with the craft and Jillian wanted to do this Early American craft while wearing her Early American bonnet.


Wednesday, December 22, 2010

Fruit Garland

Continuing my obsession with the smells of Christmas I thought we could make an orange and apple spiced garland.  I cut 2 oranges and 1 apple to 1/4 inch thickness and had the kids blot off any surface moisture.


I microwaved the fruit for 2 minutes on paper towel and then set them on a baking sheet to bake at 250 degrees.  I took this picture before sprinkling them with cinnamon.  The house smelled wonderful as the the fruit dried in the oven.  The oranges dried first and I took them out after a few hours.  The apples needed about another hour.


Here is how they looked coming out of the oven.


I strung them with red and white baker's twine and hung them under our mantle.  They look so festive!


Thursday, December 16, 2010

Homemade Birdseed Ornaments

Chris is a lover of birds and enjoys filling up feeders to see all the colorful birds come into our backyard.  The girls and I decided that making a homemade birdseed ornament would be a perfect gift from the kids to their Daddy.  After searching for ways to make homemade bird feeder ornaments I found this.

I figured I better test it out before trying it with the kids and I am very glad that I did as I had to make some quick changes in the 'mold' that I used and ended up making a sizable mess in the kitchen.  I finally settled on small bowls that we had in the house but I will likely try the dollar store for a cake mold that will look like a wreath for the present.  I will aspire for our birdseed wreath to look as lovely as Stephanie Lynn's but until then this is the ornament that I tested today.

I cut up a straw and placed it in the birdseed while it set in the fridge so that we would be able to string up the ornament.


And here it is hanging on one of our evergreens.  It turned out pretty well!  I'm looking forward to seeing how the wreath will turn out! 


Related Posts Plugin for WordPress, Blogger...