Tuesday, April 12, 2011

Free Easter Printables

I love all the free printables that you can find on the web!  I adored the St. Patrick's Day Flags from Sandy Toes and Popsicles.......


and was thrilled she created a Springtime Banner!


You can download the banner here.


I love, love, love the vintage look of these Easter printables from FunkyTime.


You can download them here.

Subway art is so popular right now and I found lots of Easter Subway Art out there.  However, I couldn't find exactly what I was looking for, so I decided to make my own!  Here is my first attempt at subway art!


The only trouble is I have no idea how to make this downloadable from my blog!  If anyone is interested in this I could always email it to you as an attachment {that much I do know how to do} although it may be a pretty big file.  Hopefully, before the next holiday, I'll have figured out how to do the download thing.

Here are few other free designs.....


Happy Easter Decorating!

Monday, April 11, 2011

Chocolate Salt Dough Easter Ornaments

With Easter coming up I thought we could try making CHOCOLATE salt dough ornaments with colored candy windows.  Of course, these are not edible!


I had used these crushed jolly ranchers before in Secret Message Decoder Cookies and Candy Heart Gingerbread Men, but I wasn't too fond of the jolly rancher stickiness {next time I will use lifesavers}.  So, I was thinking of ways to get rid of the extra candy and thought this would be perfect!

I changed my usual recipe {found here} by adding more salt and less flour in hopes that the ornaments would not rise and become puffy like they sometimes do - it worked out great!

Chocolate Salt Dough
2 cups salt
1 cup flour
1 cup cocoa
1 cup warm water
{you can always cut this recipe in half}

Mix dry ingredients together and add water to form dough.  Knead well.  Dust surface with cocoa and roll to a 1/4"-3/4" thickness.
 
Use your cookie cutters to cut out the large shape first.  Lift with a spatula and place ornament on a lightly sprayed, foil-lined cookie sheet.  Once large cut-out is on the foil then use a smaller cookie cutter or a bread knife to cut out a window pane.  Lift the window pane cut-out with a fork.  Remember to use a straw or chop stick to make a hole if you want to hang them with ribbon.

Bake at 250 F for about 45 minutes.

While the ornaments are baking, crush up your candies by putting them in a freezer bag and hitting with a rolling pin.

Once your ornaments are ready add your crushed candy and put back in the oven for another 5-8 minutes or until the candy is melted.

Let cool and gently lift and peel the ornament from the foil.

I love the way this chocolate Easter egg turned out!


We hung all our favorites from our mantle to decorate for the Easter season.


Have fun!


Sunday, April 10, 2011

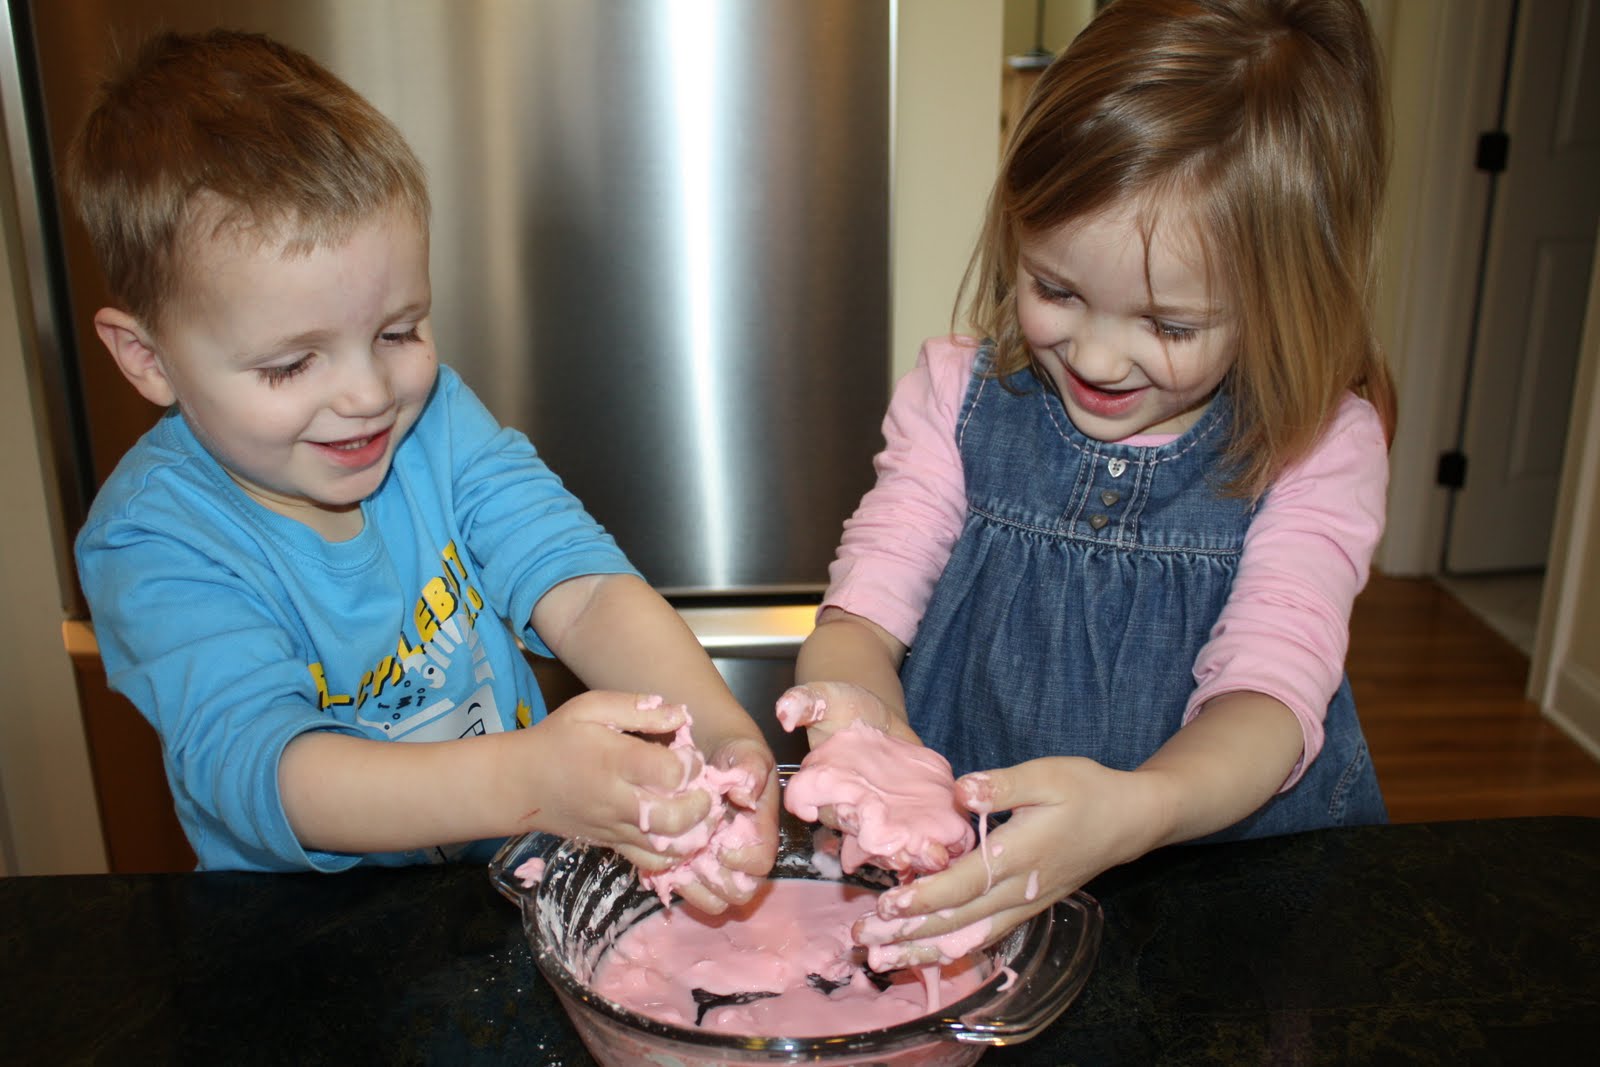
Oobleck

Have you ever read this book?  Have you ever made oobleck?


It is the   cRaziesT stuff!
It acts like a liquid when being poured and like a solid when a force is acting on it.  So you can pick it up out of the bowl but then it will ooze out of your fingers!


Here is how you make it:

1 cup water {with some food coloring mixed in}
1.5-2 cups corn starch {if you want runnnier oobleck use 1.5, harder oobleck use 2 cups}
mix it up with your hands


Then have LoTS of fun!


A great way to combine book reading with hands on fun.

Friday, April 8, 2011

Ones, Tens, Hundreds

Number Line Up

I modified this game I found at Mathwire to make it age appropriate for our kids.
It was an easy after dinner game that the kids had fun playing.  I wrote out four numbers on paper and gave one number to each child and one to their Dad.  I would call out a number like '842' and and the person designated the 'number maker' {in this case, their Dad} would move the human game pieces around to form the called out number.  This game was easily modified to the kids level of understanding.  For example, Matthew could make the number 2, Jillian could make an 84, and Sarah could make a 428. 
The kids loved moving the human game pieces around to create the correct number.


Place Value Game

Sarah enjoyed this game and it was a great way to help her understand larger place values.  The goal is to make the biggest number that you can with your digit cards.  Each player gets 10 digit cards (0-9) and turns them face down on the table.  Then each player takes a turn picking up a digit card and decides where they should put it in order to create the biggest number.  Sarah soon learned that the best strategy was to put the low value numbers in the one and ten slots and the high value numbers in the hundred and thousand slots.  
More detailed instructions, variations on the game and all the printables for the game can be found here at Mathwire.


Math is fun!

Thursday, April 7, 2011

Lamb Handprint

I love crafts that involve handprints and footprints!  They are such great keepsakes. 

Here is a cute Easter themed handprint craft - super easy too!

We used black paint for the handprint and then glued cotton balls onto the palm area to make the lamb's wool.  Then Matthew pressed the tips of his fingers onto a green stamp pad {you could use green paint too} and then onto the paper to create the grass.  Finish it off with a little googly eye and you have a sweet little lamb!


Wednesday, April 6, 2011

Paint Bag Drawing

This was a fun little activity for the kids.  We squirted some paint into a freezer bag, put a white piece of paper under the bag, and taped it down to the counter with painters tape.

The kids doodled, practiced their letters, and made handprints in the paint.


Q-tips work better than fingers to write and draw. 


All was good clean fun until things started getting a little silly...

...and the kids started putting their faces onto the paint, which then progressed to the kids sitting on the paint to see what kind of impression that would make!

Oh, my silly girls!

Have fun!

Idea from Lets Explore

Tuesday, April 5, 2011

Footprint Robin

 Yesterday I asked the kids to keep an eye out for robins - explaining that robins are a sure sign of spring.  Luckily, we saw a bunch during our morning errands.  One of the errands was the library where I checked out a few books on spring and robins to tie in the theme.
At home, I had this cute footprint robin craft from Moments of Mommyhood.  Sarah opted out of the craft but Matthew was right into it and loved having his foot painted.
He was pretty impressed when I added the 'extras' and turned his footprint into a robin! 


His footprint makes a pretty cute little bird!


Chocolate Bird Nest Snack
{we actually made this snack last week and I haven't had the chance to post it, so I thought I would add it to this post and round out the robin theme with a little bird nest treat!}

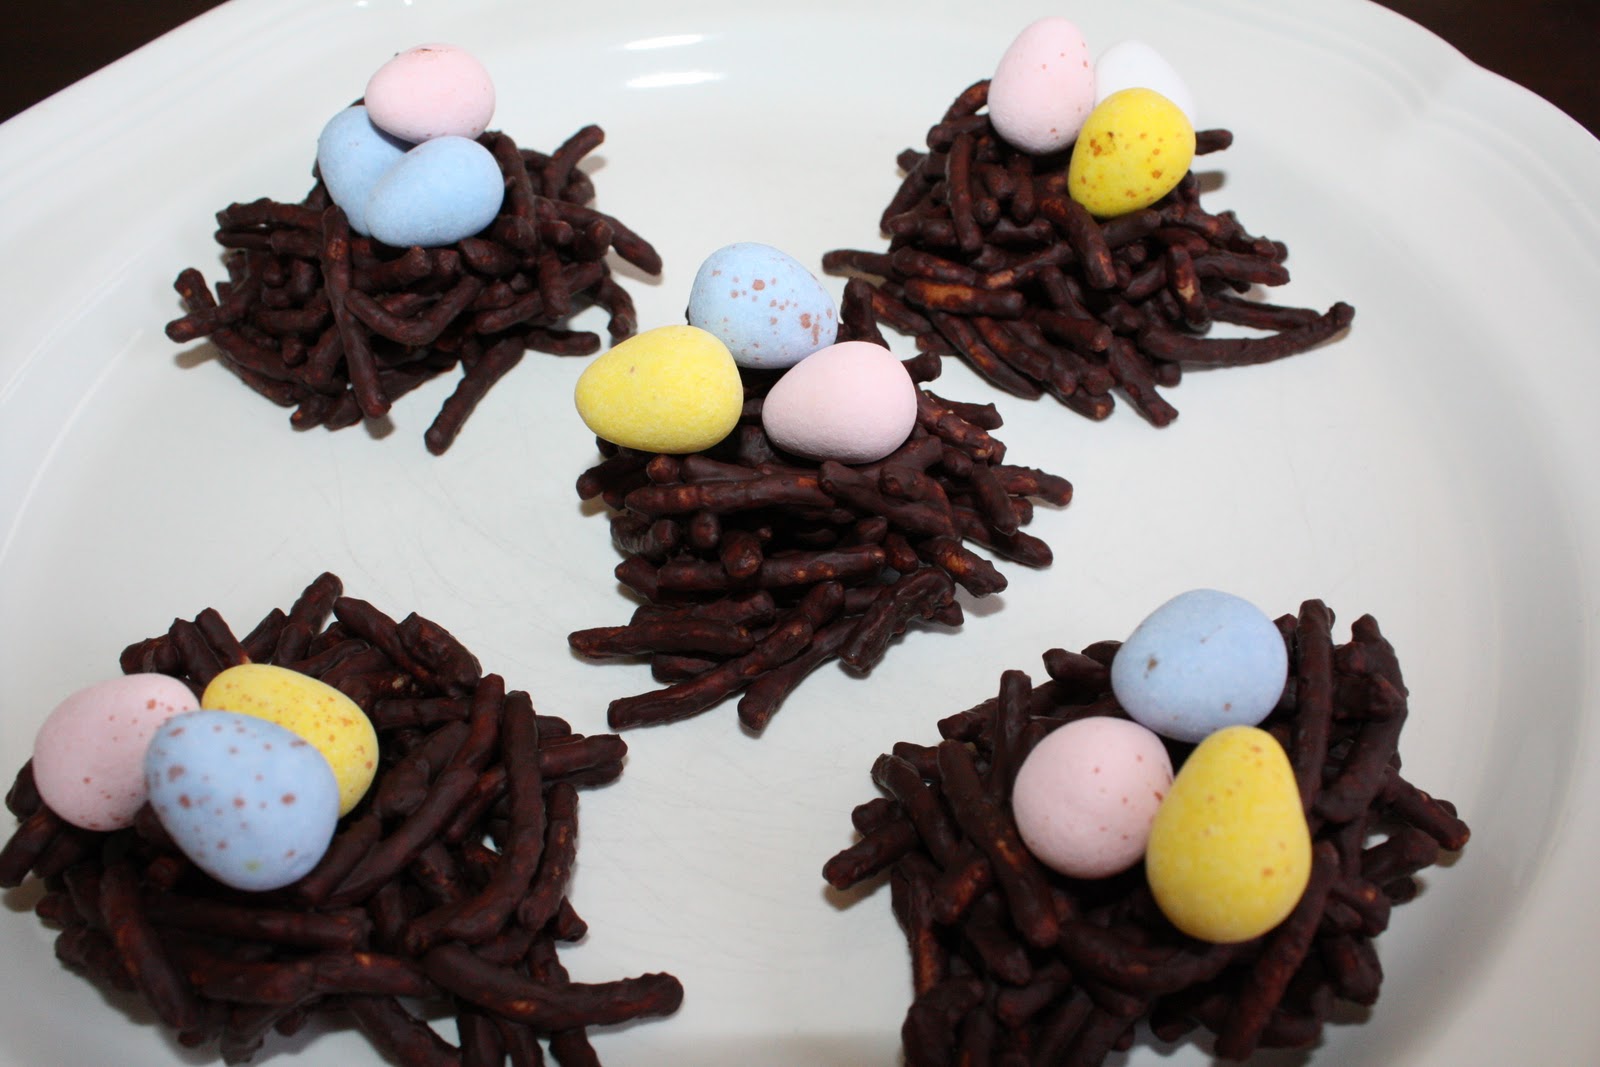
Here is a pretty classic Easter/spring-time snack.  There are many different versions on how to make the nest but I just stuck with the easy one.  I simply melted some chocolate and stirred in the chow mein noodles, molded them slightly into little nests on a cookie tray lined with parchment paper, and put them in the fridge to set.


Matthew's favorite part of baking with Mommy - licking the spoon!


Once the nests were set I put a few mini eggs on the top and they are ready to go!


YUMMY!

Monday, April 4, 2011

Milk Carton Bling Rings

You can recycle your milk carton tabs into finger bling for your little princess!

I put a thick layer of regular Elmer's glue onto the top of the tab and sprinkled little seed beads onto the glue.  You can use a toothpick to move and arrange the beads in the glue.  Then, I set the tabs into a bed of rice to help hold them upright while they dried.
 
Once dried, both Jillian and I were so excited that she tried them on before the final ModPodge step.  As she was taking them off the dried glue and beads just slipped right off the tab!

So, I applied gentle pressure to remove/slide the glue and beads from the other rings {as you can see in the picture below}.  Then I used my hot glue gun to really adhere the beads/glue onto the milk carton tab.


Next, I used ModPodge over the beads and again set them in the bed of rice to dry.


{I used regular satin ModPodge but you can buy shiney and sparkle ModPodge too, which might make the beads really pop}


Once the ModPodge was dried the Milk Carton Bling Rings were all ready to be loved by our little princess!


Idea from Meet the Dubiens

Linking up to Momnivores Dilemma

Thursday, March 31, 2011

April Fool's Day

Tomorrow night we will be going to our church for a fundraising dinner so we won't be doing an April Fool's themed dinner.  IF we were eating at home this is what I would have made for dinner.  Isn't it cute!

Cupcakes!
{meatloaf cupcakes with mashed potato frosting}

Fried egg dessert!
{Yogurt and half a peach}

And IF I had planned and been more organized I would have loved to have made this cute snack for the kids.

Sushi!


BUT April Fool fun is not completely lost on us.  Tomorrow the kids will have a few fun lunch items.

Lips and Teeth

Apple with a Caterpillar

A Buggy Sandwich


And some lunch time entertainment.

Happy April Fools

Wednesday, March 30, 2011

Dinner Magician

 Here is a cute activity that the kids loved! 
You take 5 toothpicks and break them in half without completely breaking them apart.  Place them on a plate with the broken ends together.  Then drop a few drops of water into the middle with a dropper or a straw.....  


.....and watch as the toothpicks move before your eyes and form a 5 point star!


The science of this is something to do with capillary action but I simply said to the kids that as the wood absorbs water they start to straighten out.  They each wanted a turn at being the dinner magician and make their own star.  A fun little after dinner activity!

Idea found at Almost Unschoolers

Tuesday, March 29, 2011

Have you Filled a Bucket Today?

Have you ever read this book?

It's such a wonderful book that helps kids visualize how their words and actions affect other people.
It talks about how positive words and actions will 'fill' someone's bucket with happiness and good feelings and how negative words and actions will 'empty' buckets.  It encourages children to be 'bucket fillers' and not 'bucket dippers'.  These simple words, descriptions, and pictures seem to really connect with children and we frequently use these terms to encourage positive behavior with our kids. 


I had the opportunity to read this book and do a 'Bucket Filling' activity with Sarah's Daisy group last week.  All the girls were so attentive to the book and were more than willing to contribute bucket filling ideas.

After the book was read they each decorated a silver bucket with their name and some colorful stickers.  

Finally, they filled out these note cards for each member of the Daisy group so that every girl would bring home a bucket full of positive 'bucket filling' notes. 


You can find this printable and more at What the Teacher Wants.

Remember to ask yourself at the end of each day.....
"Did I fill a bucket today?"


Monday, March 28, 2011

Paint Chip Hyacinth

Oh, how I love spring bulb flowers!  Tulips and hyacinths are my favorites!

While shopping the other day I saw a these beautiful blue-purple paint chips and thought that we could make a paint chip hyacinth!

The kids took turns punching out 1 1/2 inch circles from the paint chips with a circle punch....


....and then cut the paint chips in half.


With some bright green paint chips they cut out a stem and some leaves.
Then they started gluing their cut outs onto a white piece of cardstock.


Here are their simple and beautiful creations!


Happy Spring!

Thursday, March 24, 2011

Painting with your Veggies

Here is a fun and 'out of the box' painting activity.
I cut off the end of a celery stalk and used it to make flower prints.


I'm so glad I had the camera ready to catch Jillian's reaction when she lifted the celery up.
She had a great time printing a few flowers on her paper, but she was done in about 30 seconds!


So, I poured out a bunch of different colors......


.....rolled out a long piece of paper, painted on some flower stems, and had Jillian and Matthew stamp flowers in their flower garden.


Such a pretty garden.
{with no weeding required!}


Idea found at Homemade Serenity
Related Posts Plugin for WordPress, Blogger...