Showing posts with label Science. Show all posts

Monday, November 14, 2011

Cranberry Day

I needed some ideas to entertain the kids during our day off from school last week and decided on a Cranberry theme!  First, the kids 'experimented' with some cranberries - checking out if they float or sink and why, bouncing them and cutting them open to investigate the inside.


 Cranberry Playdough

Next, we boiled half a bag of fresh cranberries and then strained the cranberry mush out to make some 'cranberry water' for playdough.


We used the strained 'cranberry water' in a stove top playdough recipe.

2 cups flour
1 cup salt
1Tbsp oil
1 Tbsp cream of Tartar
2 cups 'cranberry water'

Mix all ingredients in a pot on medium heat and stir until it starts to form a ball.  Remove from pot and knead.

Here is our naturally colored playdough!

 
And here is the Cranberry Bakery - Open for Business!


 Then we read the book Cranberry Thanksgiving.


.....and used the recipe at the back of the book to make some

"Grandmother's Famous Cranberry Bread"

 (we modified the recipe by using whole wheat flour and walnuts instead of raisins)

Yum!

Cranberry Day activities found at Superheros and Princesses

Saturday, October 29, 2011

Fizzy Fun Day

Wow!  I have not posted anything in months!  Things are pretty busy around here.  The little baby is no longer little and is keeping us very busy.  The start of school, programs and activities have been keeping us on the run.  Crafting fun has been on the back burner lately. 

Fizzy Fun Day with friends had been in the works for a while but schedules etc. prevented us from getting together.  We finally planned a date and had a blast!  Unfortunately, I did not have my camera ready to shoot the fun but I still wanted to document the activities for future reference - so here we go!

Fizzy Foaming Sugar Sticks

Mix 1/2 cup of sugar with 1 pkg of Kool-Aid
Take 1 Tbsp of the sugar/Kool-Aid mix and combine it with 1/8 tsp baking soda
roll up some paper to make a funnel and spoon the mixture into a straw that has been bent closed at the bottom

Pop some in your mouth and enjoy the fizzy sugar stick!  The kids all loved this one.

Volcano

This was the most popular activity with the kids because it was the more involved and required the most steps.

First we made some Kool-Aid playdough to help form the volcano.

1 1/4 cup flour
1/4 cup salt
1 pkg Kool-Aid
1 Tbsp Cream of Tartar
1 cup boiling water
1 1/2 Tbsp oil

Combine all the dry ingredients in a bowl.  Add the oil to the boiling water and then pour that into the dry ingredients.  Stir together and then knead on a sheet of wax paper.

Then the kids used the playdough to mold the volcano around a mini water bottle.  They went outside to grab some leaves, grass etc. to decorate the volcano and make it look more real. 

Next, we added 3 tsp of baking soda into the water bottle and a few drops of food coloring (red would have been more lava like, but we didn't have any).  Finally, I poured in about 1 1/2 cups of vinegar while the kids ohhhhh'd, ahhhhhh'd and cheered.


Here is the aftermath of the blue lava volcano.


Fizzy Explosion

paper towel cut into a 5x5 inch square
1 1/2 Tbsp of baking soda

Fold the paper towel into thirds both ways with the baking soda in the center to form a little packet.

Next, prepare a ziploc sandwich bag with 1/2 cup vinegar and 1/4 cup warm water.  Close the baking soda packet into the sandwich bag, being careful to close the bag without the packet coming in contact with the vinegar/water.  Once the bag is carefully sealed, go outside and let the packet fall into the vinegar/water solution.  It's best to put the bag on the ground because the bag is going to POP!  Two of our bags popped really quickly while the other 3 took a little longer - which only added to the kids excitement!


Finally........

Soda Pop Explosion

1 2L bottle of Diet Coke
1 pkg of Mentos

Prepare a paper roll to hold the mentos.  Set the pop bottle outside.  As quickly as you can, drop all the Mentos into the pop bottle at once and back away!  The bottle will fizz up in a GREAT DRAMATIC VOLCANO .......... that lasted about 2 seconds.  Really, the video I watched on youtube had me expecting a much more dramatic result but the kids still thought it was neat.

And there you go!  A fun afternoon of Fizzy Fun and experiments for the kids to enjoy!

The above fizzy experiments and more can be found at Superheros and Princesses
Idea for the Soda Pop Explosion found at Frugal Family Fun Blog


Tuesday, April 26, 2011

Egg Drop

As soon as I read this peeps experiment at Almost Unschoolers I knew we would have to give it a try!  After all, we had a bunch of peeps left over from our Easter vase that we had to get rid of.

First, I let the kids drop a raw egg off the side of our deck to see what would happen.......


Then, I set out some supplies and let them create a protective holder for the next egg drop.


With some guidance, this is what they came up with - the egg surrounded with peeps, closed, and taped into a sour cream container.


Sadly, our little peep-protected egg didn't make it......to see one that did check out the experiment over at Almost Unschoolers.

Determined to have one successful egg drop, we raided the recycling bin and found a plastic strawberry container.  Then we found some air fill packaging {from our last Amazon delivery}, tucked the egg inside, taped the container shut, and tried again.


SUCCESS!!!
Our little egg made it!


Conclusion - Amazon is correct in packaging product with air-fill packaging rather then peeps!

Monday, April 25, 2011

Egg Experiments

!!!STOP!!!

Don't throw your Easter eggs out yet!
Here are bunch of cool little experiments that you can do with them.

Experiment No 1 - Sink or Float

Fill one glass with regular water and a second glass with water and about 4-5 tbsp of salt {kosher salt will not turn the water cloudy, but you could use table salt too}.
Grab two of your hard boiled egss {you can can also use raw} and ask the kids what they think will happen to the eggs in each glass.
The egg will sink in the plain water and float in the salt water {since the salt in the water makes it more dense, it will be able to hold up the egg}.


You can also fill a glass half full with the salt water and slowly add plain water.  Add the plain water by pouring it gently onto a spoon and letting it fall down the side of the glass so you don't mix the salt and regular water.  Then gently drop your egg into the glass - it will sink down through the regular water and then stop when in hits the more dense salt water.
{I think I mixed the two solutions in our experiment because the egg stopped very close to the bottom of the glass}


Experiment No 2 - Folding Egg

Place one of your blown out Easter eggs into a glass of vinegar.  Either hold it under the vinegar until it fills and will stay submerged or use something to weigh it down.  The vinegar will start to dissolve the shell and leave only the membrane.  The experiment {found here} says this will take up to 10 days.  We must have super vinegar because our egg shell started to crack a bit from the spoons I placed on it to hold it down.  I was easily able to peel off the shell from the membrane within a few hours!  With a little bit of air {we used a syringe to fill it with air} you have an egg shape that you can fold, squeeze and fool others with.  It didn't work nearly as well as I thought, but it was still neat for the kids to feel the texture of the egg membrane.


Have fun with those eggs!

Sunday, April 10, 2011

Oobleck

Have you ever read this book?  Have you ever made oobleck?


It is the   cRaziesT stuff!
It acts like a liquid when being poured and like a solid when a force is acting on it.  So you can pick it up out of the bowl but then it will ooze out of your fingers!


Here is how you make it:

1 cup water {with some food coloring mixed in}
1.5-2 cups corn starch {if you want runnnier oobleck use 1.5, harder oobleck use 2 cups}
mix it up with your hands


Then have LoTS of fun!


A great way to combine book reading with hands on fun.

Wednesday, March 30, 2011

Dinner Magician

 Here is a cute activity that the kids loved! 
You take 5 toothpicks and break them in half without completely breaking them apart.  Place them on a plate with the broken ends together.  Then drop a few drops of water into the middle with a dropper or a straw.....  


.....and watch as the toothpicks move before your eyes and form a 5 point star!


The science of this is something to do with capillary action but I simply said to the kids that as the wood absorbs water they start to straighten out.  They each wanted a turn at being the dinner magician and make their own star.  A fun little after dinner activity!

Idea found at Almost Unschoolers

Tuesday, March 22, 2011

Lava Lamp

I was all excited to do this activity with the kids and have them ooohhhhh and aaahhhhh.  Matthew was a bit bored {as you can see in the picture below} and Jillian had already tried it at preschool.
Good thing Sarah loved it!

First, find a jar or bottle and pour some water into the bottle.  Our bottle was small so we filled it until it was about an inch high.  Then pour vegetable oil in, leaving some room at the top.  We waited a little and watched the oil and water separate.  Then we added a bunch of food coloring {the kids put in about 6-8 drops} and watched as the drops of coloring passed through the oil to the water.


Then I broke some Alka Seltzer tablets into quarters and let them drop them in one at a time.
{for a bigger bottle you would probably want to use 1/2 a tablet} 


Then Sarah ooohhhh'd and aaahhhh'd as the red blobs and bubbles rose up through the oil!
{apparently this was still not enough excitement for Matthew}


This was a fun activity and the best part is you can keep doing it over and over.  If you have a bottle with a cap you can just store your 'lava lamps' and use them again and again!


Just don't let your kids put all their pieces of seltzer into the bottle at the same time - the kids loved all the bubbles but I had a counter of overflowed oil to clean up!

 
Idea from Science Bob


Thursday, March 17, 2011

Color Change Leprechaun Hat

Yesterday we took out the food coloring to see if we could turn this
Leprechaun Hat GREEN for St. Patrick's Day!

I wrapped some green construction paper around a cylinder vase, added a yellow band and a buckle and placed it on a circle cut from more green construction paper to look like the hat brim.

Then we added LOTS of green food coloring to the water.

Most of the white carnations did turn a light shade of green overnight.


With the extra carnations, each of the kids wanted to try a different color.
{Matthew-blue, Sarah-green, and Jillian-red}


They were pretty impressed with all the colored flowers this morning!


The kids were also excited to see the green pancakes Chris made them for breakfast.
{way to get crafty Chris!}


Happy St. Patrick's Day!

Thursday, February 17, 2011

Shiny Pennies - Part 2

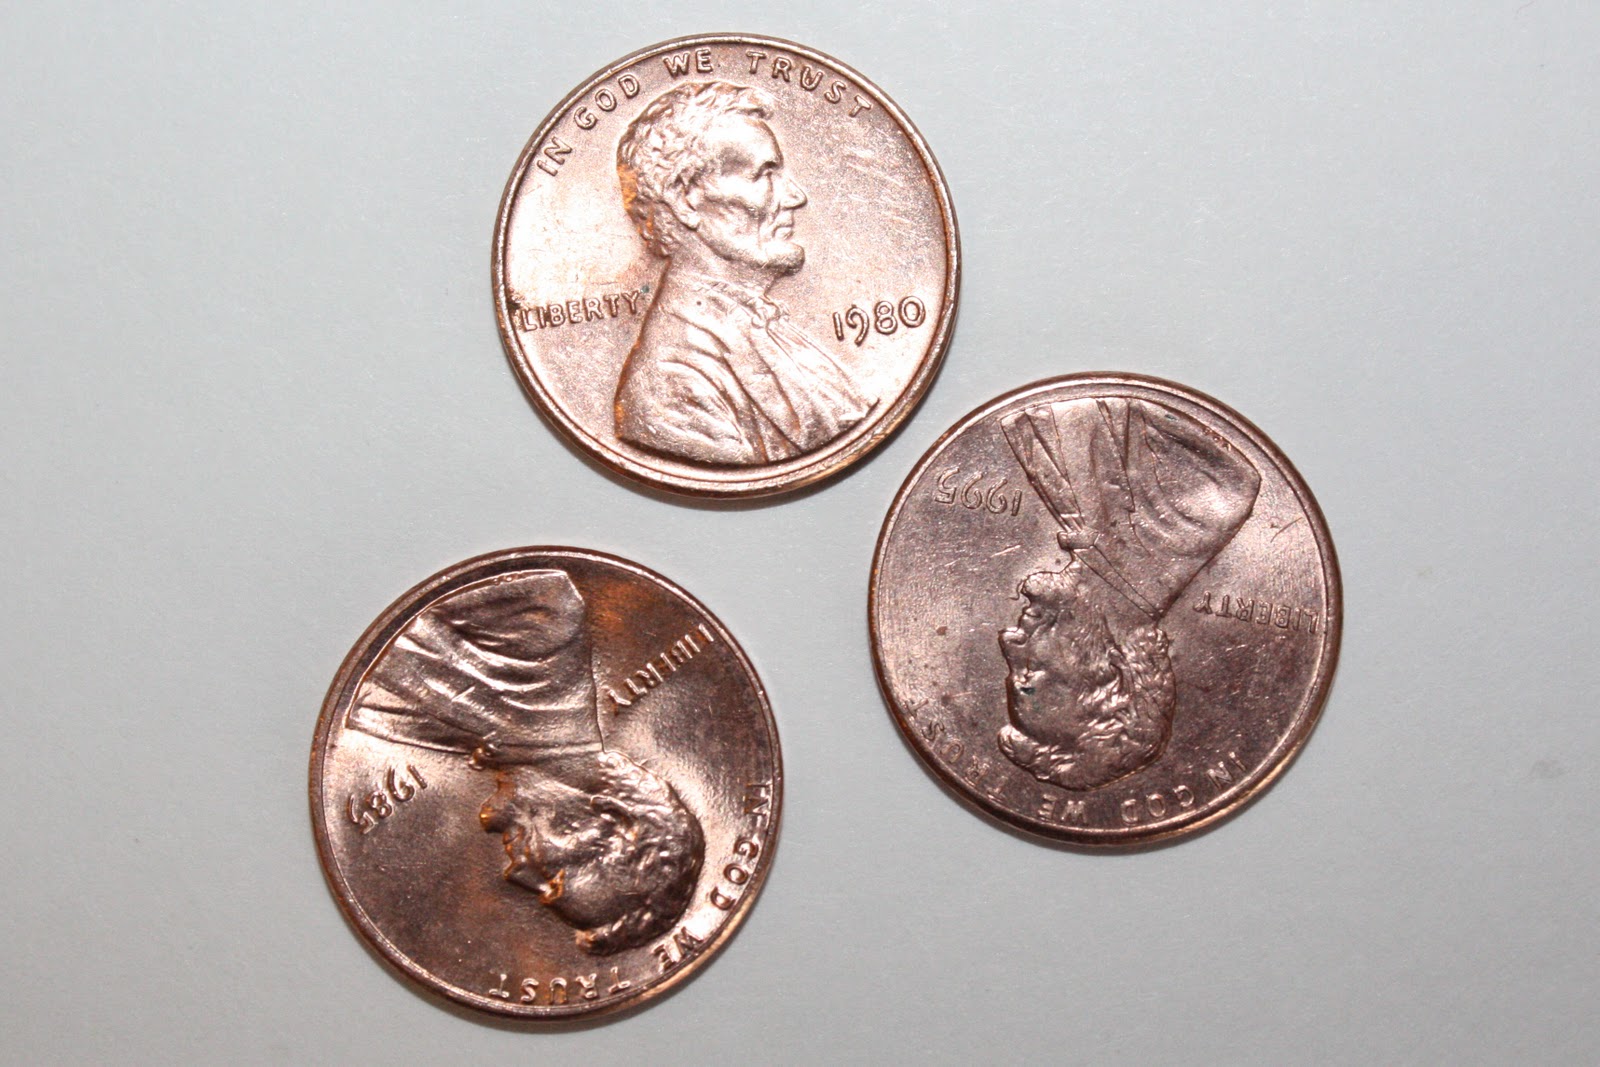
When Sarah found out that Jillian and Matthew had done a little science with pennies she wanted to try too!  So tonight after supper she mixed up the mixture (1/4 cup vinegar and 1 teaspoon table salt) and dropped in her dull pennies.


We talked a little more about how the vinegar and salt react to remove the copper oxide from the pennies.  Then we split the pennies into 2 groups.
Group A    rinsed the vinegar/salt solution off
Group B   let the vinegar/salt solution dry on the pennies


We went off to do Sarah's reading for about 1/2 hour and this is what we found when we came back!

Group A                    Group B

In Group B a chemical called malachite formed on the pennies and turned them a greenish-blue color!

Very Cool!

Wednesday, February 16, 2011

Shiny Pennies

Since yesterday's post {The Corner Store} was all about money, and Abraham Lincoln's birthday was 4 days ago, I thought that we could shine up some pennies and talk a little science!

First, gather up some old (not shiny) pennies.


Next mix up 1/4 cup of white vinegar and 1 teaspoon salt in a non-metal bowl.
Drop your pennies into the 'penny cleaner'.


Count to 10 slowly.
Remove your pennies and rinse them in water.


So sparkly!


The kids were really impressed with their new shiny pennies and put them straight into their piggy banks.
I basically told the kids that the vinegar is an acid and reacted with the salt to clean off the pennies - can't get much more detailed than that with preschoolers. 


Wow Abe!  You really clean up well!


Wednesday, February 2, 2011

Borax Slime Experiment


ANOTHER Snow Day! 
{this one due to an ice storm}


Which can only mean another day in our jammies!

My science savvy friend suggested we make Borax slime and provided this linkThanks M!
Yet another cool thing you can do with Borax!
{we have previously made Borax crystals here}

This was a really AWESOME activity!  You have to go buy some Borax and try this!


Borax Slime

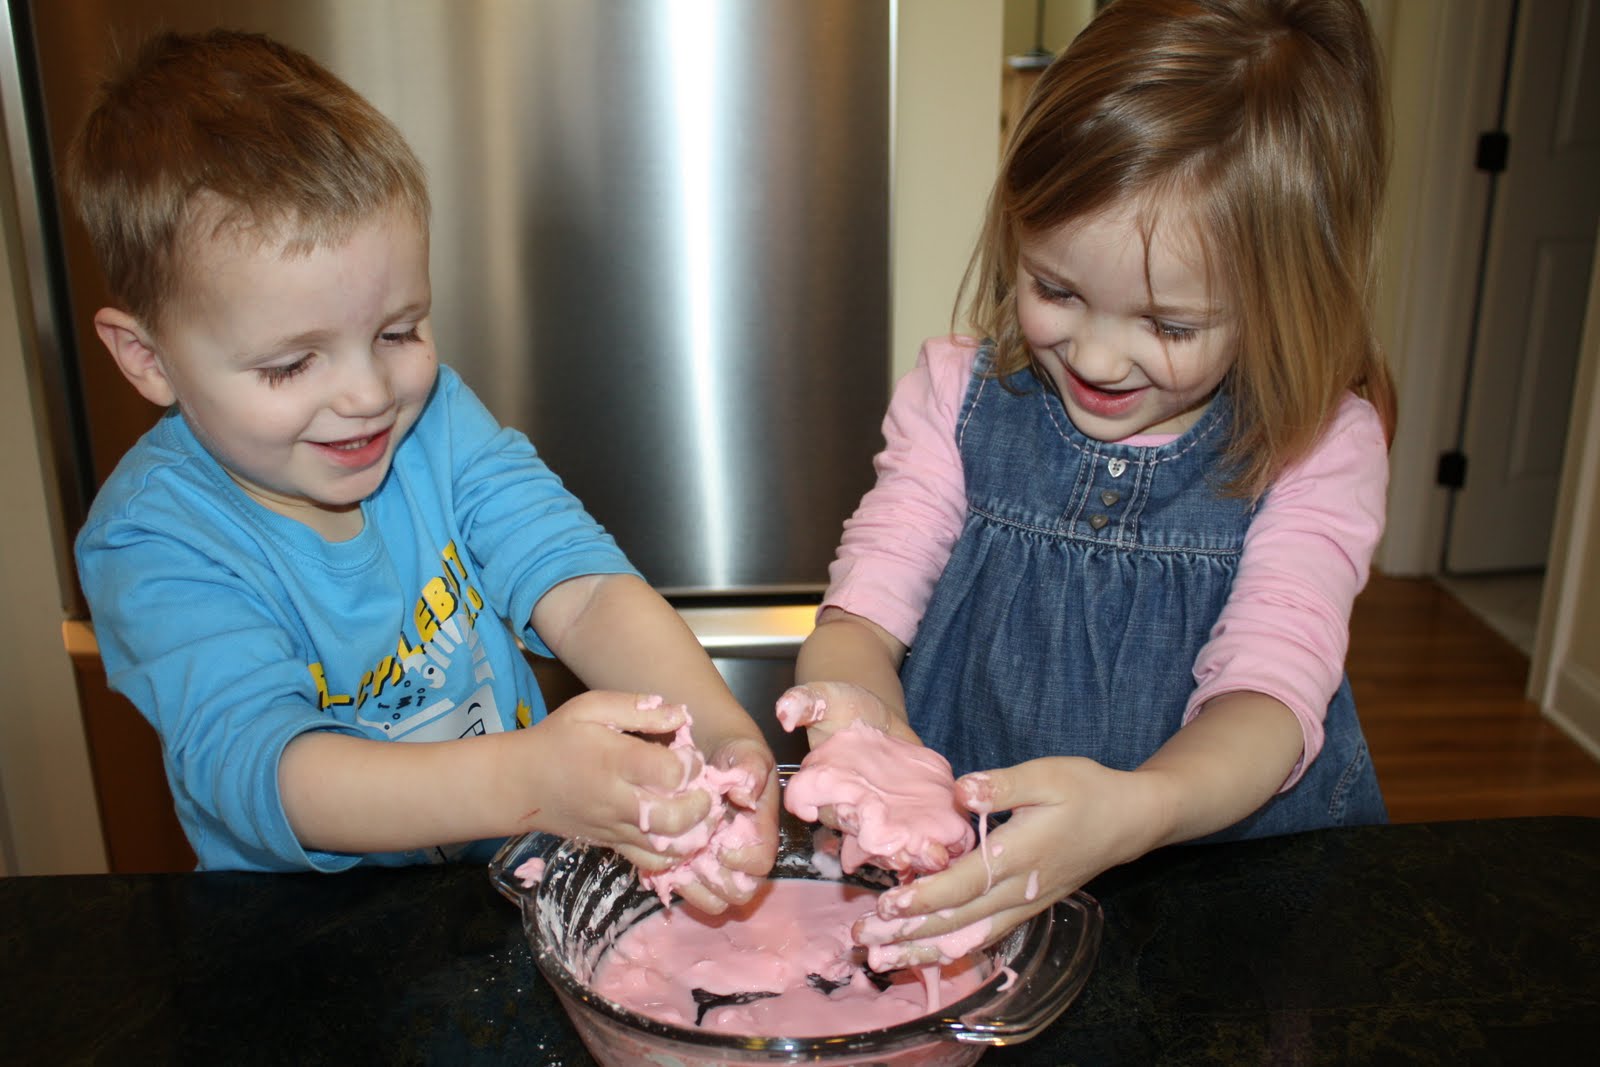
1st  Mix together 1/2 cup white glue and 1/2 cup water in a bowl (add some food coloring to this mixture to color your slime).
2nd  Dissolve 1 teaspoon Borax into 1 cup of water in another bowl.


3rd  Pour one mixture into the other and be AMAZED!
The solution will immediately start to polymerize.....


......and it looks so cool!


4th  Stir it up as much as you can and then take it out of the water and mix it by hand.
There will be a bunch of water left in the bowl.

Then have a BLAST! 


{The kids were having so much fun stretching out their slime that, once again, I let them stand on the counter.  After 2 days in the house you have to break the rules every now and then!}

Keep your slime stored in a ziplock bag in the fridge.

Hey Mommy!  Will you do this cool activity with me when I'm older?
You betcha baby!

Linking up to Sun Scholars
Linking up to KimsKandyKreations

Tuesday, February 1, 2011

Polar Bears


Snow Day #7
The theme today is Polar Bears!

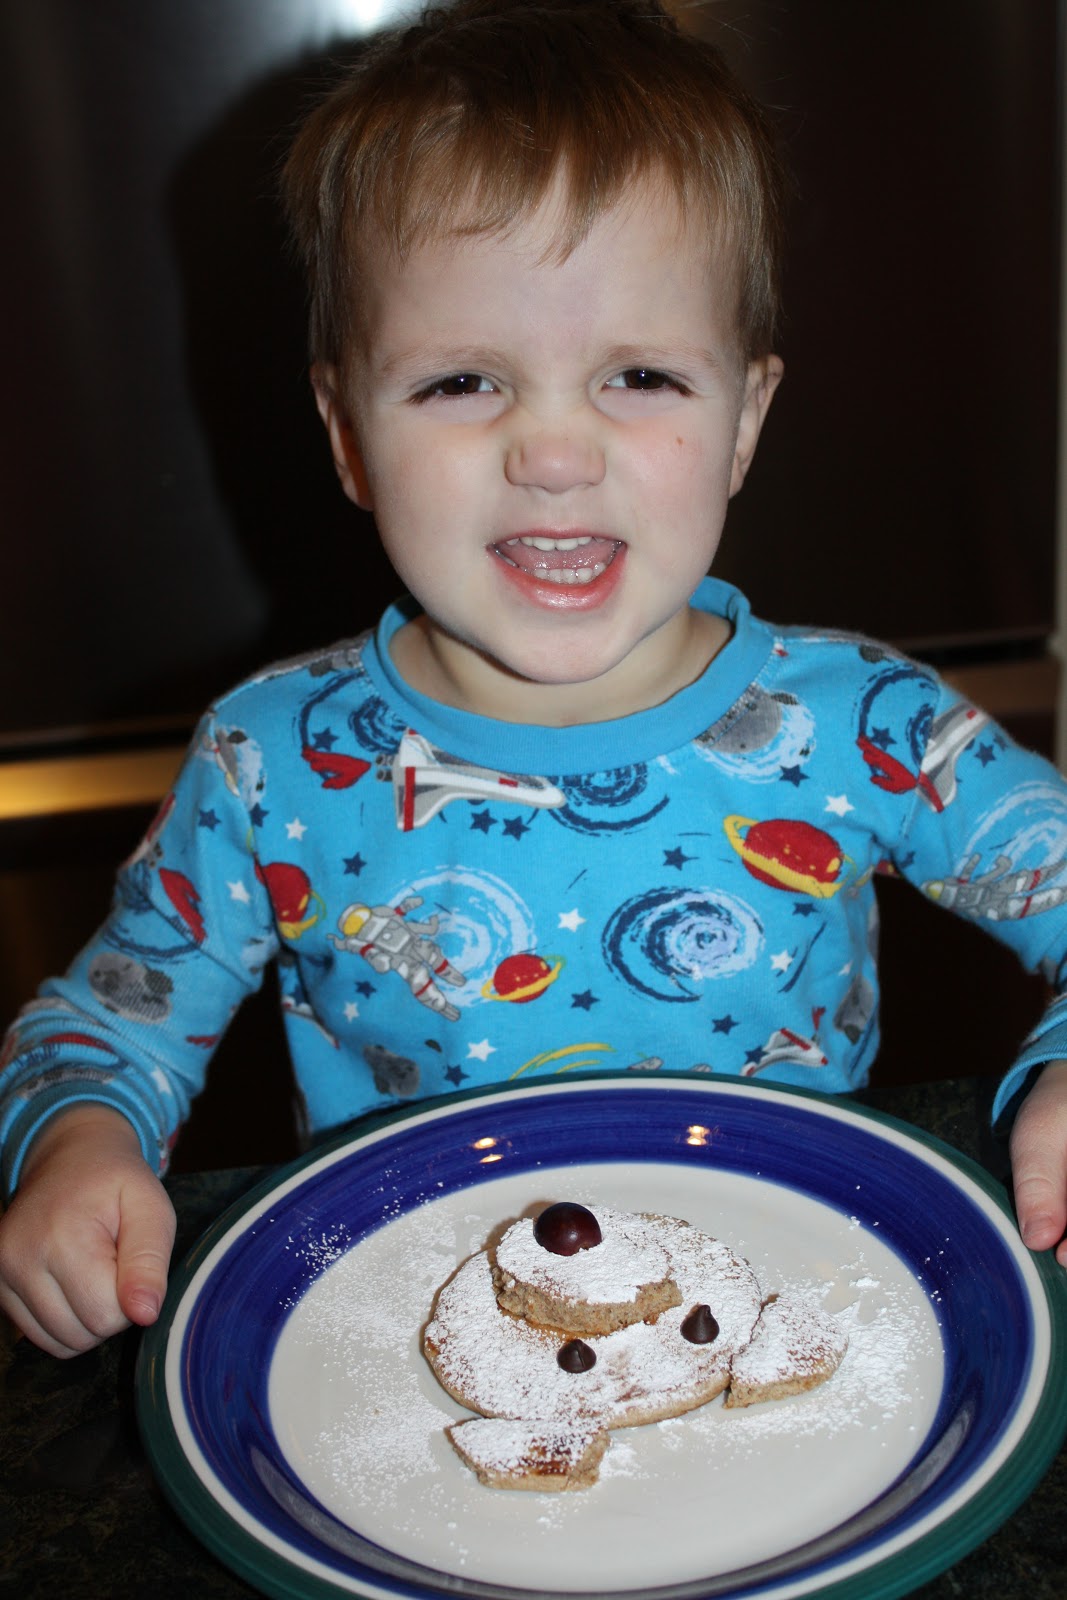
We started with a Polar Bear Pancake Breakfast.
{1 large pancake and 2 small ones for the nose and ears, a grape nose and chocolate chip eyes}


I asked Jillian to put a light dusting of powdered sugar on her polar bear.  Somehow it became more like a SNOW STORM of sugar, but I think she looks quite happy about it!


We have been reading books on polar bears and once again an "Adventures of Riley" book is a huge hit.  We have previously read an 'Adventures of Riley' book during a Penguin themed snow day and the kids loved that one too.  So far they have asked to read this book 5 times!  It has lots of great information and it holds the kids attention.
We also read Ice Bear.  Another great book to learn more about polar bears.


We also checked out a few polar bear videos on you tube.
Click here to watch a video of a polar bear and her two cubs in the wild - my kids love how the mama bear toboggans down the hill.

How do Polar Bears stay warm?

This was an experiment that I was really excited to try with them.  In the above books we were learning how polar bears stay warm in the freezing tempertures.

This experiment shows how the bears thick layer of fat helps to keep the polar bear warm.
1st  Make 'ice bergs' by freezing crumpled up paper cups filled with water - as seen in this post.
2nd  Fill a large bowl with water and 'icebergs'.
3rd  Make a 'blubber glove'.  Put one cup of shortening into a sandwich bag.  Then turn another sandwich bag inside out and put it into the first bag - attach them together so that your hands will not actually touch the shortening.


First the kids first put their hands into the freezing cold 'Arctic water'.


Then they put their hands into the blubber glove and tried again.


Wow!  My hand is not cold anymore!
That's how polar bears stay so warm!


They all had so much fun with this and were amazed by how they could not feel any cold when their hands were inside the glove.  My cute Sarah even suggested that they should make winter gloves out of blubber!


Polar Bear Snack

After the experiment the kids wanted to make a polar bear snack.  They thought of using an apple with marshmallow legs and even thought of putting the goldfish all around for the polar bear to eat!  It was great to watch their creativity!


Puffy Paint Polar Bear

For our polar bear craft I drew out a polar bear shape and gave them a few options of how they could fill it in.  I knew they would pick the puffy paint option - they love this stuff.  We have used it before (here) and the results were really cool.
To make the puffy paint just mix elmers glue and shaving cream!  You could even add some food coloring to it if you wanted some colored puffy paint.


......and here are the Puffy Paint Polar Bears!


And of course, I needed to add a picture of our favorite little
polar bear cub!


Linking up to ABC and 123
Related Posts Plugin for WordPress, Blogger...