Showing posts with label Yummy. Show all posts

Monday, November 14, 2011

Cranberry Day

I needed some ideas to entertain the kids during our day off from school last week and decided on a Cranberry theme!  First, the kids 'experimented' with some cranberries - checking out if they float or sink and why, bouncing them and cutting them open to investigate the inside.


 Cranberry Playdough

Next, we boiled half a bag of fresh cranberries and then strained the cranberry mush out to make some 'cranberry water' for playdough.


We used the strained 'cranberry water' in a stove top playdough recipe.

2 cups flour
1 cup salt
1Tbsp oil
1 Tbsp cream of Tartar
2 cups 'cranberry water'

Mix all ingredients in a pot on medium heat and stir until it starts to form a ball.  Remove from pot and knead.

Here is our naturally colored playdough!

 
And here is the Cranberry Bakery - Open for Business!


 Then we read the book Cranberry Thanksgiving.


.....and used the recipe at the back of the book to make some

"Grandmother's Famous Cranberry Bread"

 (we modified the recipe by using whole wheat flour and walnuts instead of raisins)

Yum!

Cranberry Day activities found at Superheros and Princesses

Sunday, June 19, 2011

Sunflower Snack

WOW!!!  I have not posted in soooooo long! 
We have been busy playing outside.  Since the kids have learned how to ride their bikes that is where we are spending all our free time.  They love it!
I thought I would post this cute snack I had ready for the kids when Sarah came off the bus last week.  Super easy and healthy too.

{cheddar cheese cut into triangles, red grapes, a celery stalk, and a bunch of crackers}

The kids enjoyed munching on their 'sunflower'......


......and then returned to biking and scootering!


Idea from Edible Crafts.

Monday, May 9, 2011

Bookworms

I can't remember where I saw this cute little snack.  It was perfect for Sarah - our book worm.  Simply a few gummi worms in a bag with a cute little note attached that encourages reading.

It doesn't get more simple than that - and lets your little one know that you are proud of all their reading!


Thursday, May 5, 2011

Chocolate Chip Waffle Cookies

Look like waffles......taste like cookies!!!
Delicious fun!


The kids thought these were the coolest little cookies!
I used a classic chocolate chip cookie recipe {with way too much sugar and way too much butter} and baked them in a waffle iron!  It takes a little longer since you have to make smaller batches but totally worth it for the novelty of WAFFLE COOKIES!

Sarah was thrilled to snack on these when she came home from school.

I had the waffle iron turned up a little too high and I baked them a little too long but they still turned out great.  Next time, I will try our usual healthier cookie recipe in the waffle iron and see how that turns out.

Idea from FineCooking

Tuesday, April 5, 2011

Footprint Robin

 Yesterday I asked the kids to keep an eye out for robins - explaining that robins are a sure sign of spring.  Luckily, we saw a bunch during our morning errands.  One of the errands was the library where I checked out a few books on spring and robins to tie in the theme.
At home, I had this cute footprint robin craft from Moments of Mommyhood.  Sarah opted out of the craft but Matthew was right into it and loved having his foot painted.
He was pretty impressed when I added the 'extras' and turned his footprint into a robin! 


His footprint makes a pretty cute little bird!


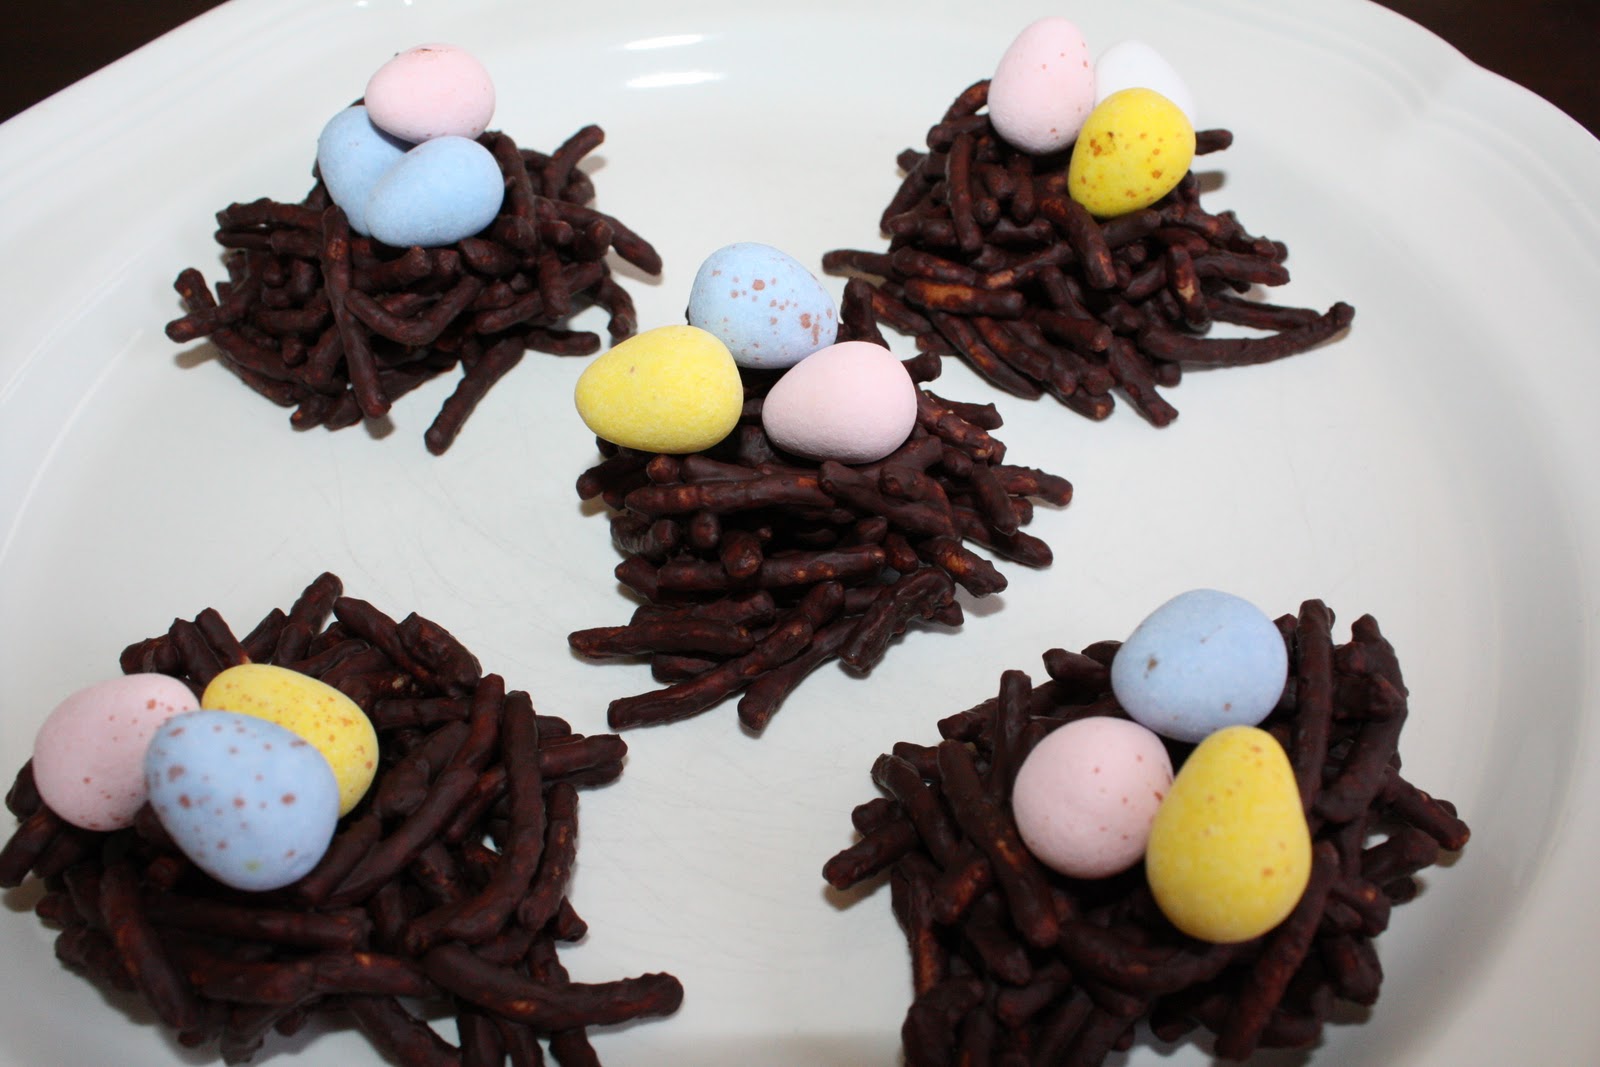
Chocolate Bird Nest Snack
{we actually made this snack last week and I haven't had the chance to post it, so I thought I would add it to this post and round out the robin theme with a little bird nest treat!}

Here is a pretty classic Easter/spring-time snack.  There are many different versions on how to make the nest but I just stuck with the easy one.  I simply melted some chocolate and stirred in the chow mein noodles, molded them slightly into little nests on a cookie tray lined with parchment paper, and put them in the fridge to set.


Matthew's favorite part of baking with Mommy - licking the spoon!


Once the nests were set I put a few mini eggs on the top and they are ready to go!


YUMMY!

Monday, March 21, 2011

Make your own homemade butter!

This was a fun activity for the whole family!
We took a jar (ours was a pickle jar) and some heavy whipping cream.
Pour the cream into the jar and .......


SHAKE, SHAKE, SHAKE!


This was a really cool process! 
Sarah had made butter before in preschool so she was coaching us along and telling us what was happening.

The trick is you have to listen!

So first, you will shake and shake and hear the the cream sloshing around.
After a lot of shaking you won't hear the liquid anymore.  This is good - your cream is starting to turn into butter, but don't stop there!
Keep shaking and shaking until you hear liquid sloshing around again.  That's the buttermilk separating from the butter!

You have made butter!
{it took us about 15 min}

We poured it into a bowl and this is what it looked like. 


I wasn't sure what to do with this big clump of butter!
Sarah said we had to strain it, so we strained it through a small wire strainer to get all the buttermilk out.

Then we put it into little candy molds and made cute butter flowers!
{I put the molds into the freezer so that I could pop out the butter easily, it worked well}


Have Fun!

Tuesday, March 15, 2011

Rainbow Snack

I've been seeing this St. Patrick's Day snack around and thought that I would surprise the kids with it after school today.


It was a big hit!
The whole rainbow was devoured and the kids ate fruit that they would not usually agree to eat.  Matthew even ate a slice of pear........with the peel on!!!

I used strawberries, orange slices, pineapple, pear, blueberries and grapes for the rainbow.
Mini marshmallows for the cloud and banana slices for the pot of gold at the end of the rainbow.

Enjoy!

Friday, March 11, 2011

Shamrock Pretzels

Here is a popular
St. Patrick's Day Snack!

White chocolate dipped Shamrocks!

It's so simple. 

Start with some pretzels......


......and dip in melted chocolate!

Add some extra chocolate into the middle of the shamrock to hold them together.
 Sprinkle with any green or St. Patrick's Day themed sprinkles you may have and pop in the fridge to set.

So easy and so yummy!


I dipped these pretzels very lightly in the chocolate {to try to minimize the sugar content} but it made them look a little transparent.  Next time, I think I would buy some yogurt covered pretzels and 'glue' them together with the melted white chocolate.

Enjoy!

Wednesday, March 9, 2011

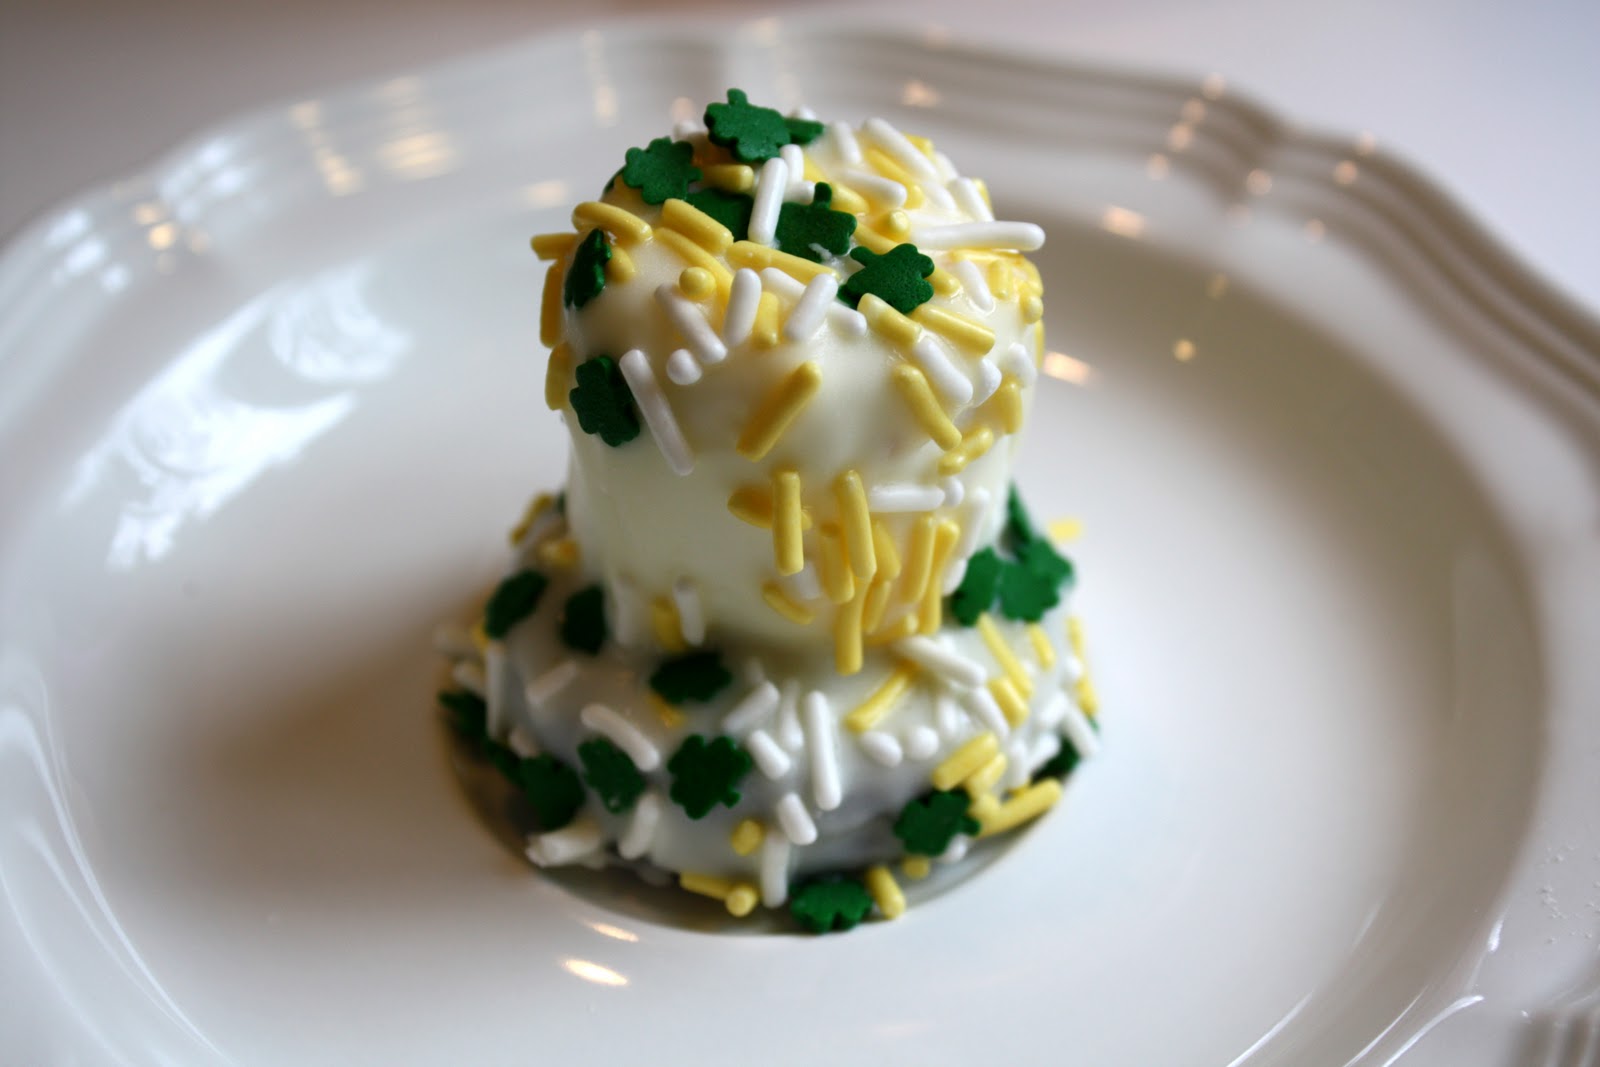
Leprechaun Hats

These HATS have turned out to be a very versatile snack!

You start with Oreos and marshmallows and then use your imagination.


They were Snowmen Hats in this post.


They were Abe Lincoln's tall top hat in this post.
{switched the marshmallow for banana}


And now with St. Patrick's Day coming up they are
Leprechaun Hats!


I melted white chocolate chips and poured the melted chocolate over the marshmallows and Oreos, then sprinkled them with Lucky Shamrock Sprinkles.


I wonder what they will turn into next?


Linking up to Sun Scholars
Linking up to Passionately Artistic

Sunday, February 13, 2011

Valentine Food Day

Valentine Breakfast, Lunch and Snack!

These heart pancakes were very cute but really messy to make.  I put them in a cake decorating bag and squeezed out the batter.  While I was making them Chris said, "Why don't you just make regular pancakes and cut them into hearts with your heart cookie cutter?"   Ummmmm, I don't know why I didn't think of that before I had the pancake batter spilling all over the counter.  I will remember that for next time!


 This cute heart-dog I saw in the Valentine Family Fun magazine.  They turned out great and the kids thought they were awesome.  It's simply a hot dog, cheese cut into arrow shapes and a pasta noodle.


We had lots of of white chocolate chips left over from all the peppermint bark we made over Christmas so we made some Valentine Pretzel Sticks for snack.  I melted the chocolate in a double boiler and used a spoon to pour the melted chocolate on the pretzels.  Then the kids sprinkled them with Valentine sprinkles and we popped them in the fridge to cool.  Be sure to place them on parchment paper or they will stick to your plate. 


Snack time was very quiet as the kids enjoyed their treat. 

YUMMY!

Tuesday, February 8, 2011

Candy Heart Gingerbread Man

We smashed a lot of Jolly Ranchers to make the secret message decoder cookies.  I needed to come up with another idea to use up some of the crushed candy and found these

Make your favorite gingerbread recipe, cut out bears or gingerbread man shapes and place on a sprayed foil lined cookie sheet.

Cut out a heart shape and fill with your crushed candy.


Bake at 350 degrees for approx. 10 min and cool completely.


Dip in melted chocolate and set in the fridge to cool.


Cute and Yummy! 

I need to remember this when making our gingerbread house next Christmas.  The candy would make great looking glass window panes!


Thought I would add this picture.......a little sign of spring amongst all the snow!

Saturday, February 5, 2011

Secret Message Decoder Valentine Cookies

I thought these 'decoder cookies' looked so cool!  I was excited to try them out!

We started with Matthew sorting Jolly Rancher candies into their color groups.
{you could also use lifesavers} 

And smashing the candy into small pieces - his favorite part.

We used the red candies for the decoder cookies and are saving the other colors for another Valentine treat you will see in an upcoming post.

  • Use your favorite sugar cookie recipe {I'm not posting the one I used because I found they came out on the hard side.  I've yet to find a favorite go-to sugar cookie recipe so if you have one let me know!}
  • Prepare your baking sheet by covering with foil and lightly coat with cooking spray {be sure to spray or your cookies will stick!}
  • Roll your dough to 1/4" thick and cut out with large heart cutter and place on baking sheet.
  • Cut out the center with a slightly smaller heart cutter and remove the dough.
  • Fill the center with your crushed candy.
  • Bake for 10 minutes or until lightly golden on the edges.
  • Cool completely and store in airtight container.


Now for the FUN part!
Write out a secret message in thin light blue pen and then scribble and doodle all over it with pink, red or purple pen.


Use your decoder cookie window to read the secret message!


SO COOL!!!

This was a fun after dinner activity.  Each of us picked one family member and wrote out a secret Valentine message to that person.  Then we all exchanged the messages and read them to each other with the decoder cookie.  It was a great way to have the kids say something nice about one another and it provided a yummy dessert!


Thursday, February 3, 2011

Icicles and Treats

Snow Day........again!

Here was a really easy craft from Frugal Family Fun.  It was perfect for today since we have so many icicles!
Just squeeze out a whole bunch of glue on the top of a piece of cardstock. 


Hold the paper up so the glue begins to drip and form icicles.


And sprinkle with salt!

Easy, fun and done!


Snowman Hats

This is cute little snack that I saw in one of the Williams Sonoma cataloges.  I figured instead of spending a lot of money for these little cuties I could just make them myself! 
They are so easy!

Just set out a bunch of oreos on wax paper and then place a large marshmallow on each.


Melt some semi sweet bakers chocolate in a double boiler (be sure that the water in the double boiler does not boil and does not touch the pot or bowl that the chocolate is melting it).
Spoon and spread the melted chocolate over the marshmallows and cookies.
Sprinkle with white nonpareils (to look like snow).
Put in the fridge to set.

I guess these are Valentine Snowman Hats since the only nonpareils we had were pink and white.


Zebra Pretzels

I had a wax paper lined cookie sheet of pretzels ready to be drizzled with any extra melted chocolate from the Snowman Hats.  Once I used up all the dark chocolate on the pretzels I thought they looked a little plain, so I melted white chocolate and drizzled that on too.   


YUMMY!

Related Posts Plugin for WordPress, Blogger...