Showing posts with label Shaving Cream. Show all posts

Sunday, December 18, 2011

Christmas Fun Day

We have been getting together with another family for little 'educational days'.  The idea is to provide some enrichment activities outside of school.  So far we have met for a Fizzy Fun Day, a Math Games Day, and now a Christmas Fun Day!

Here was our line-up of activites.......

First, I read How the Grinch Stole Christmas and then had the kids come up with some adjectives describing the Grinch.
Idea found here on Pinterest.


Then we played this simple memory game.  The kids looked at the tray for a minute or two and then went off to different rooms to write down all the items that they remembered.


Then, we read The Sweet Smell of Christmas.  We have done this activity at the kids preschool and I just loved the idea.  It is now one of our family traditions.  I put all the scented items from the book into little bowls for the kids to pass around as I read.  The 6 different items were: gingerbread, peppermint candy canes, cocoa power, apples and cinnamon, evergreen, and oranges.


Then the kids needed a sweet treat, so we made some hot chocolate and the kids used these 'North Poles' to stir some peppermint, marshmallow and chocolate into their cocoa.


Finally, the kids played in SNOW.  The idea was to spell out some spelling and trick words into the shaving cream but that didn't really happen.  If you do plan on spelling words in the shaving cream be sure to use only a thin layer of cream, otherwise it doesn't really work.

Already looking forward to our next Educational Day!

Monday, February 28, 2011

Rainbow Bathtub Puzzle

This RAINBOW puzzle is made from foam sheets.  Did you know that they will stick to bathtub walls when wet?  FUN!  The rainbow theme is also a great way to get into the St. Patrick's Day spirit!

I started by tracing one of our mixing bowls onto regular white paper. 


Then I drew the arcs of the rainbow.
{This is where having a compass would have been handy!}


Next I used the template to cut out the rainbow colors from the foam sheets.

RED  ORANGE  YELLOW  GREEN  BLUE  PURPLE

OK - so a true rainbow has 7 colors (red, orange, yellow, green, blue, indigo and violet) but the foam sheets I found were pretty close and simply saying 'purple' is so much easier for kids!

The kids were excited for bathtime tonight knowing they had a rainbow puzzle to complete!


But they were especially excited when I told them that they could spray on some shaving cream clouds once they finished their rainbow!


Have fun!

Linking up to SunScholars
Linking up to It's a Hodgepodge Life, PetiteHermine

Tuesday, February 1, 2011

Polar Bears


Snow Day #7
The theme today is Polar Bears!

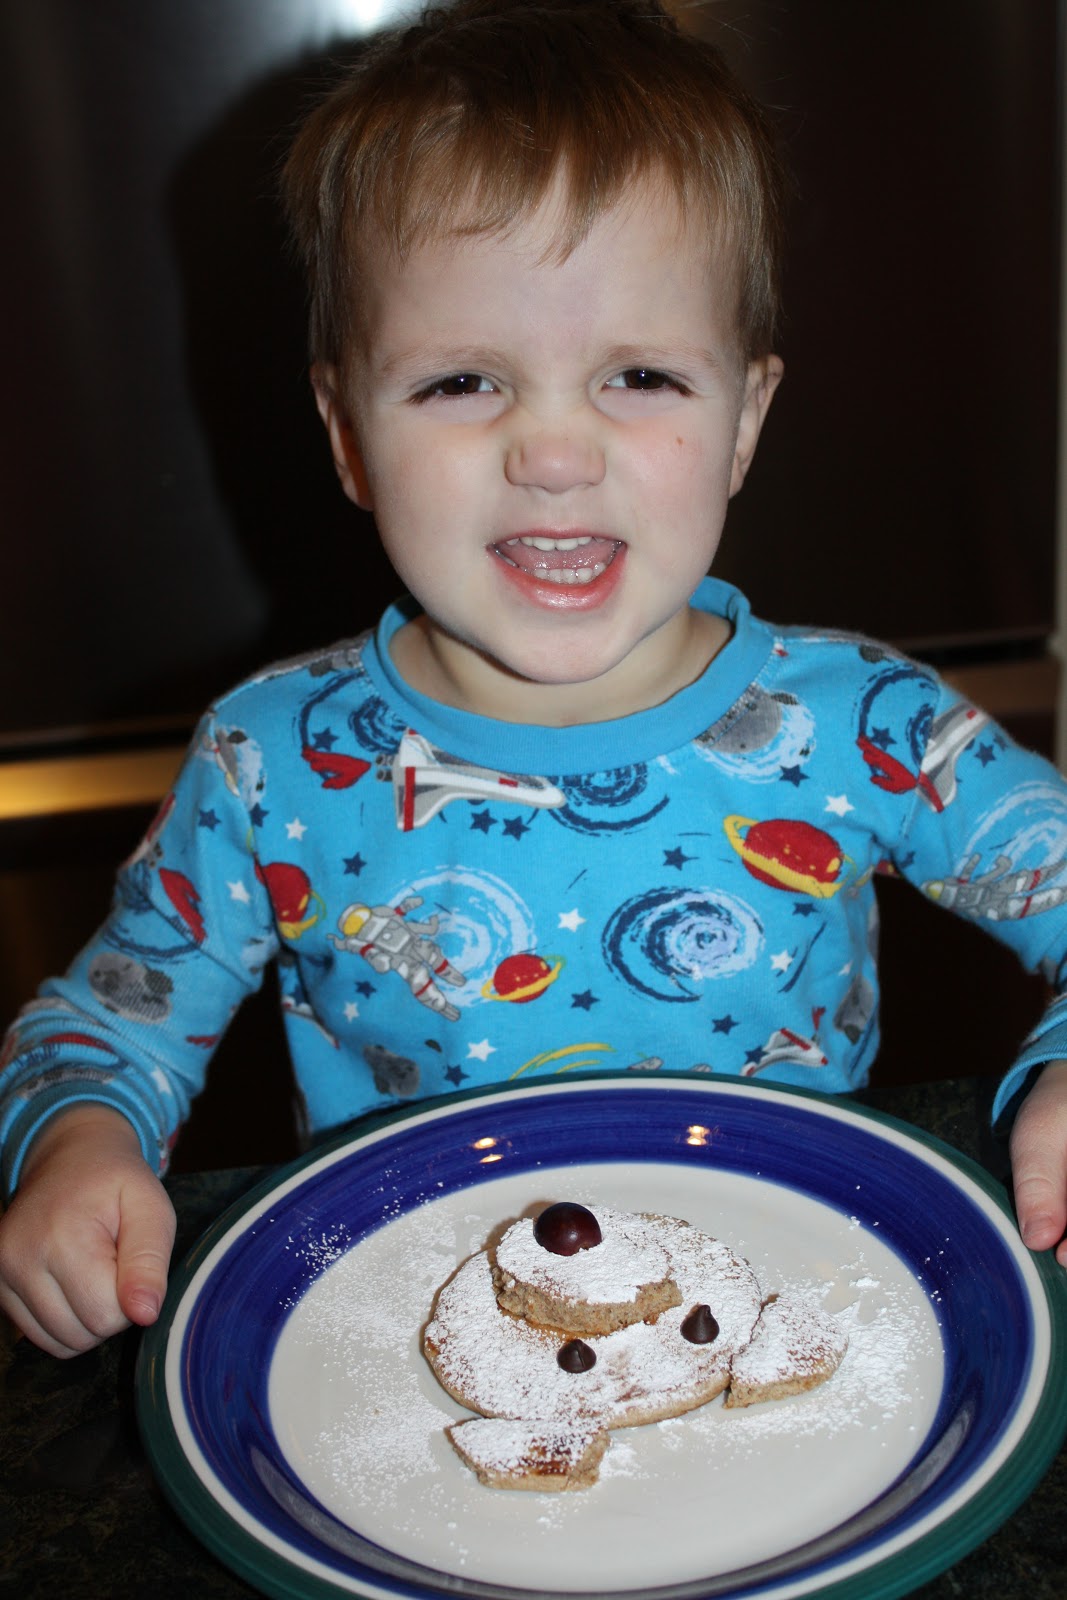
We started with a Polar Bear Pancake Breakfast.
{1 large pancake and 2 small ones for the nose and ears, a grape nose and chocolate chip eyes}


I asked Jillian to put a light dusting of powdered sugar on her polar bear.  Somehow it became more like a SNOW STORM of sugar, but I think she looks quite happy about it!


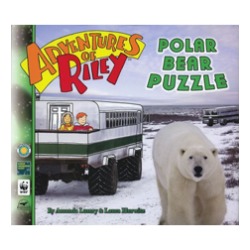
We have been reading books on polar bears and once again an "Adventures of Riley" book is a huge hit.  We have previously read an 'Adventures of Riley' book during a Penguin themed snow day and the kids loved that one too.  So far they have asked to read this book 5 times!  It has lots of great information and it holds the kids attention.
We also read Ice Bear.  Another great book to learn more about polar bears.


We also checked out a few polar bear videos on you tube.
Click here to watch a video of a polar bear and her two cubs in the wild - my kids love how the mama bear toboggans down the hill.

How do Polar Bears stay warm?

This was an experiment that I was really excited to try with them.  In the above books we were learning how polar bears stay warm in the freezing tempertures.

This experiment shows how the bears thick layer of fat helps to keep the polar bear warm.
1st  Make 'ice bergs' by freezing crumpled up paper cups filled with water - as seen in this post.
2nd  Fill a large bowl with water and 'icebergs'.
3rd  Make a 'blubber glove'.  Put one cup of shortening into a sandwich bag.  Then turn another sandwich bag inside out and put it into the first bag - attach them together so that your hands will not actually touch the shortening.


First the kids first put their hands into the freezing cold 'Arctic water'.


Then they put their hands into the blubber glove and tried again.


Wow!  My hand is not cold anymore!
That's how polar bears stay so warm!


They all had so much fun with this and were amazed by how they could not feel any cold when their hands were inside the glove.  My cute Sarah even suggested that they should make winter gloves out of blubber!


Polar Bear Snack

After the experiment the kids wanted to make a polar bear snack.  They thought of using an apple with marshmallow legs and even thought of putting the goldfish all around for the polar bear to eat!  It was great to watch their creativity!


Puffy Paint Polar Bear

For our polar bear craft I drew out a polar bear shape and gave them a few options of how they could fill it in.  I knew they would pick the puffy paint option - they love this stuff.  We have used it before (here) and the results were really cool.
To make the puffy paint just mix elmers glue and shaving cream!  You could even add some food coloring to it if you wanted some colored puffy paint.


......and here are the Puffy Paint Polar Bears!


And of course, I needed to add a picture of our favorite little
polar bear cub!


Linking up to ABC and 123

Tuesday, January 25, 2011

Shaving Cream Fun

Often when we craft I am a little too particular about not making a mess.  A messy craft can leave me feeling a little twitchy and wondering why I attempted it in the first place.  I decided it was time to just let the kids go wild and have a messy fun time.  I sat them down and let them spray shaving cream all over the kitchen island.  I think they thought that mommy had gone mad!

This is a great sensory activity and it really wasn't too bad to clean up.  It was interesting to see how at first Matthew didn't like having any shaving cream on him but then he relaxed and started having fun. 


Jillian wrote out her name.


I knew before we even started that Sarah would be the one who would play the longest with the shaving cream.  She is our sensory loving child.  I still remember when she was in daycare and her teachers showed me a picture they had taken of Sarah covered in pudding.  They had been painting with pudding and Sarah had decided that she would take a bath in it!


Have fun! 
They are only young once!

Friday, January 7, 2011

Snow Day


It's our first SNOW DAY of the year! 

We were unpleasantly awakened by an automated 5:45am phone call from the school announcing the school closure.  I knew last night that we would probably have a snow day so I was ready with snow related activities and books for the kids.  Usually I only have Nathan on Friday's - the prospect of having all 4 kids at home all day had me scrambling for activities to keep them busy.

Snowman Glyph

Have you ever heard of a glyph?  I had never heard of one before until Sarah started bringing them home as homework.  You use a legend (key) for what different parts of the glyph mean (like what kind of hat the snowman will wear, color of the scarf, how many buttons and what kind of footwear).  


Shaving Cream Snow Painting

The next craft we did was so fun!  I took some sky blue cardstock and drew a tree with brown marker.  Then I mixed good old Elmer's glue and shaving cream together and gave the kids Q tips and spoons to dot and smear the 'white snow' on their picture.  The results were great!  The 'snow' dried to a soft marshmallowy texture and the kids loved applying it to their winter tree.


You could also add food coloring to the 'snow' and decorate a Christmas tree with snow or make snowflakes on a dark blue piece of cardstock.


Then we sat down to read some snow themed books. 


Coffee Filter Snowflakes

The books reminded me of another craft I was thinking of making - snowflakes!  I filled small bowls with water, tinted with food coloring, and had the kids use droppers and Qtips to color coffee filters.  We let the coffee filters sit on paper towels to dry and then cut them into snowflakes to hang on our kitchen door.


And here is the little sweet baby that so patiently sits, watches and observes while we craft.


Related Posts Plugin for WordPress, Blogger...