Showing posts with label Painting. Show all posts

Thursday, April 7, 2011

Lamb Handprint

I love crafts that involve handprints and footprints!  They are such great keepsakes. 

Here is a cute Easter themed handprint craft - super easy too!

We used black paint for the handprint and then glued cotton balls onto the palm area to make the lamb's wool.  Then Matthew pressed the tips of his fingers onto a green stamp pad {you could use green paint too} and then onto the paper to create the grass.  Finish it off with a little googly eye and you have a sweet little lamb!


Wednesday, April 6, 2011

Paint Bag Drawing

This was a fun little activity for the kids.  We squirted some paint into a freezer bag, put a white piece of paper under the bag, and taped it down to the counter with painters tape.

The kids doodled, practiced their letters, and made handprints in the paint.


Q-tips work better than fingers to write and draw. 


All was good clean fun until things started getting a little silly...

...and the kids started putting their faces onto the paint, which then progressed to the kids sitting on the paint to see what kind of impression that would make!

Oh, my silly girls!

Have fun!

Idea from Lets Explore

Tuesday, April 5, 2011

Footprint Robin

 Yesterday I asked the kids to keep an eye out for robins - explaining that robins are a sure sign of spring.  Luckily, we saw a bunch during our morning errands.  One of the errands was the library where I checked out a few books on spring and robins to tie in the theme.
At home, I had this cute footprint robin craft from Moments of Mommyhood.  Sarah opted out of the craft but Matthew was right into it and loved having his foot painted.
He was pretty impressed when I added the 'extras' and turned his footprint into a robin! 


His footprint makes a pretty cute little bird!


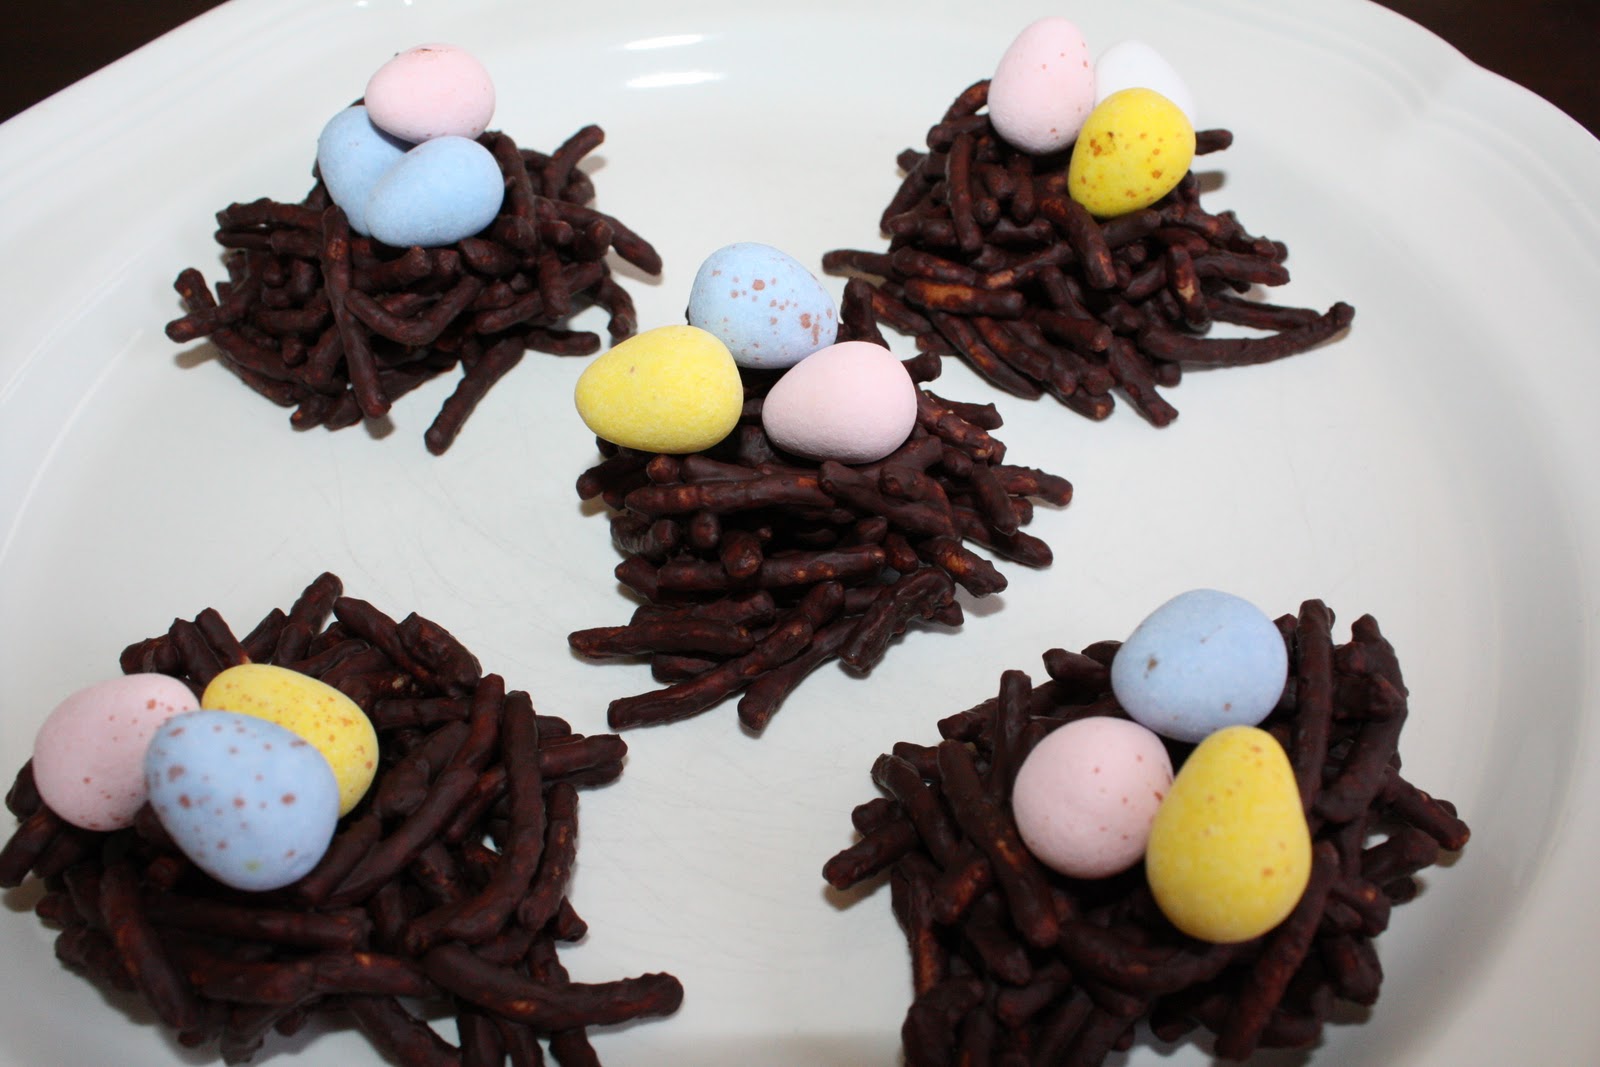
Chocolate Bird Nest Snack
{we actually made this snack last week and I haven't had the chance to post it, so I thought I would add it to this post and round out the robin theme with a little bird nest treat!}

Here is a pretty classic Easter/spring-time snack.  There are many different versions on how to make the nest but I just stuck with the easy one.  I simply melted some chocolate and stirred in the chow mein noodles, molded them slightly into little nests on a cookie tray lined with parchment paper, and put them in the fridge to set.


Matthew's favorite part of baking with Mommy - licking the spoon!


Once the nests were set I put a few mini eggs on the top and they are ready to go!


YUMMY!

Thursday, March 24, 2011

Painting with your Veggies

Here is a fun and 'out of the box' painting activity.
I cut off the end of a celery stalk and used it to make flower prints.


I'm so glad I had the camera ready to catch Jillian's reaction when she lifted the celery up.
She had a great time printing a few flowers on her paper, but she was done in about 30 seconds!


So, I poured out a bunch of different colors......


.....rolled out a long piece of paper, painted on some flower stems, and had Jillian and Matthew stamp flowers in their flower garden.


Such a pretty garden.
{with no weeding required!}


Idea found at Homemade Serenity

Wednesday, March 2, 2011

Dr. Seuss Day

Happy Birthday Dr. Seuss!
  
Matthew and I had some more Dr. Seuss fun today while Nathan slept away in his favorite sleeping spot - the swing.

Ten Apples up on Top


This activity is pretty self explanatory.....I traced Matthew on a long sheet of paper (which he thought was great) and colored him in.  Then I cut an apple in half and we stamped the apple onto the paper with red paint.


The FOOT Book

 We also read The FOOT Book and then made a FOOT Book for Matthew!


You just need a long piece of paper and lots of paint.  Oh - and a wash up sink near by!


Left foot.  Right foot.
Feet.  Feet.  Feet.
Oh, how many feet you meet!


Matthew's Foot Book!


Have fun!


Linking up to ABC and 123


Friday, February 25, 2011

Spin Painting

Here was a GREAT activity from The Artful Parent!

Spin painting with your salad spinner!


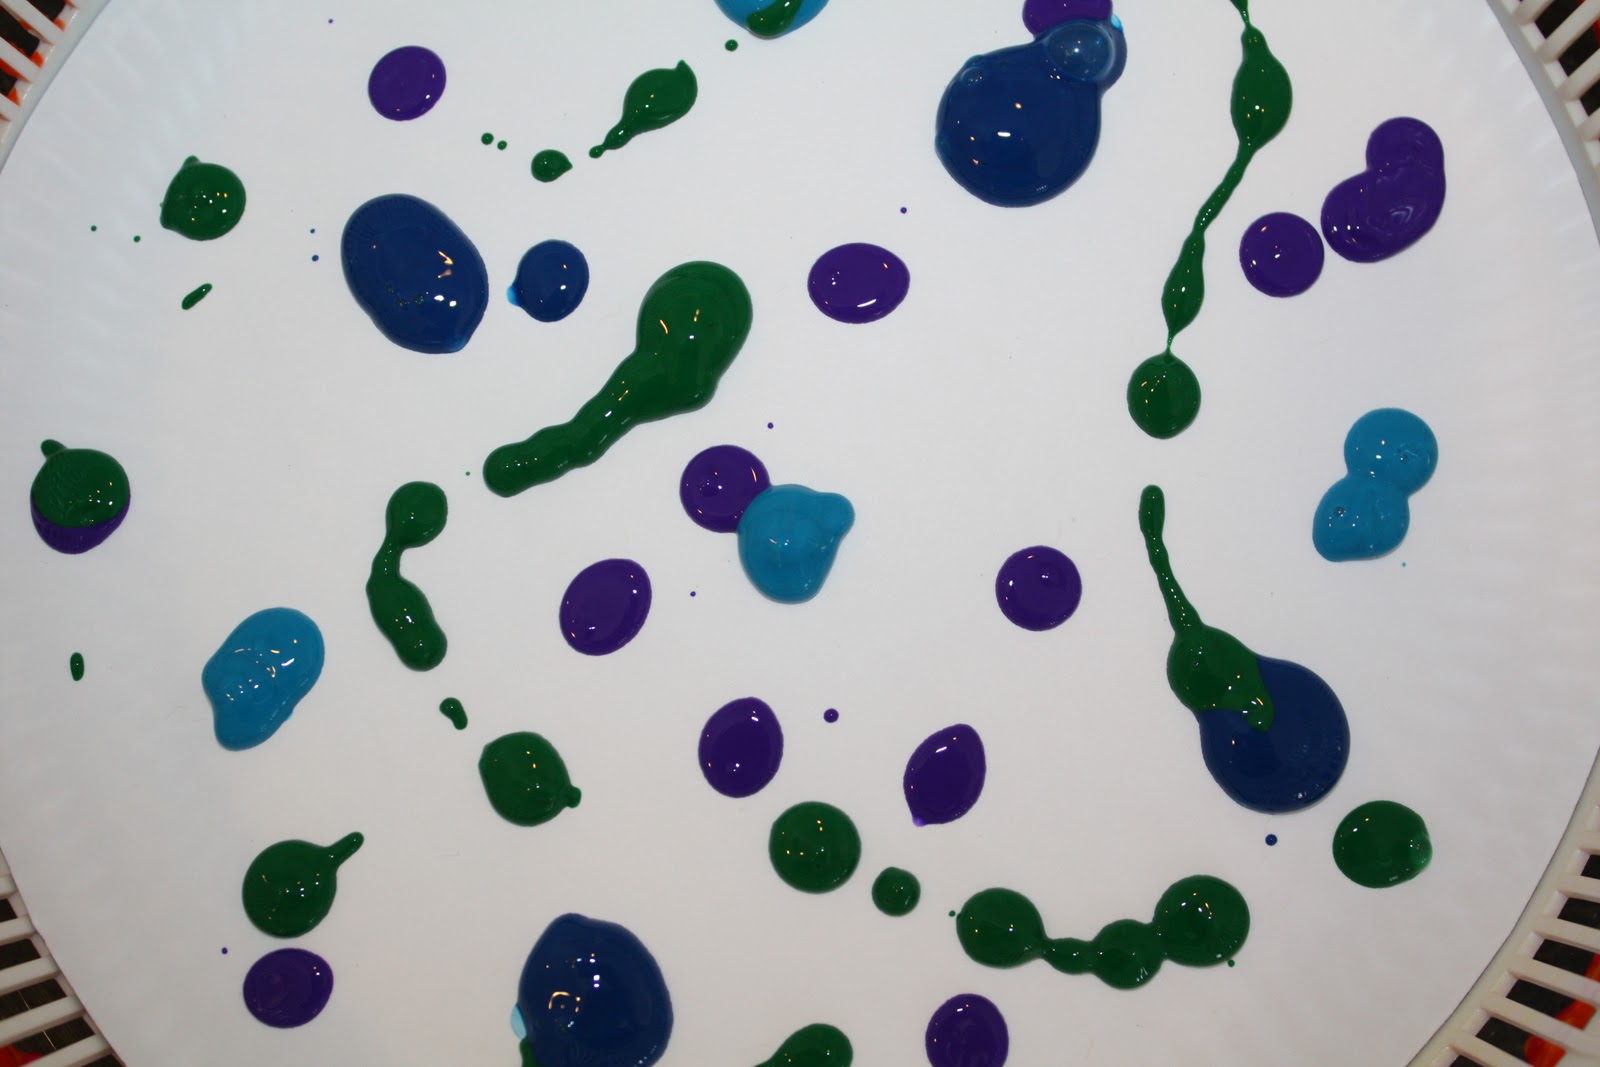
First, I cut out white cardstock so that it fit into the bottom of the salad spinner.
{I found a mixing bowl that was just about the right size and used that to trace the circles on paper}


Then the kids picked out the colors they wanted to spin and squeezed out drops of paint {washable, non toxic} on to the paper.


Spin, spin, spin!


Wow!


So pretty!


Let's do more!
{good thing I anticipated this and had pre-cut a bunch of cardstock!}


We all loved this activity!

The kids loved squirting on the paint, spinning, and lifting the lid to see their creation and I loved that the paint mess was contained!


Now, off to wash my salad spinner!

Friday, February 18, 2011

Painting with Water

Here is a wonderfully simple idea from The Artful Parent.
Just grab some water and paintbrushes and let the kids paint on a chalkboard!
{or in nicer weather paint on the driveway, the deck, the swingset}

What a simple, easy and clean little activity!
{and our chalkboard is always in need of cleaning}


I love how Jillian writes her 'J's backwards.  I know I really should be correcting her but its just so cute!


Both Jillian and Matthew were thrilled when I gave them the water and brushes and told them to paint the chalkboard.  I really didn't think it would entertain them for long but boy was I wrong!
They had a blast!


Happy painting!

Monday, February 14, 2011

Love Blossom Tree

I am in love with this craft!
It's really easy and such a great keepsake.  I found the idea at a great blog called Meet the Dubiens
I painted Matthew's arm with brown paint and pressed it onto some pink cardstock.  Next I tried to help Matthew make thumbprint hearts but he was not interested......so these are my lovely thumbprint hearts! 
I started with red leaves and thought it looked a little bare........


.....so I added pink and white hearts and then thought I went a bit overboard.
Still very pretty!


I find thumbprint hearts are actually a little tricky for my kids but I think this craft would look just as pretty with red, pink and white single thumbprints for leaves instead.  I love this craft so much I have a little idea that I am planning to do with it in a future post - stay tuned!

Happy Valentine's Day!

Wednesday, February 9, 2011

'Found object' Valentine Painting

Here is an activity we did during our last snow day......hence the pj's!

I had Sarah and Matthew collect some household objects that they would like to paint with.  I guided them a little bit since one of Matthew's objects was a paintbrush and that would kind of negate the 'found object' idea. 
I found this fun painting idea here


This craft was a hit!  It engaged them for a long time....


and turned out pretty cool too!

Sunday, February 6, 2011

Will you be my Sticky Valentine?

We painted with...........corn syrup!?!
The kids thought this was hilarious!
I cut out a heart from cardstock and poured some corn syrup in the middle.  Then I spread it out on the heart for Matthew.  Jillian spread her own corn syrup which did become a bit sticky.  Be careful that you don't use too much corn syrup because it will take forever to dry.  You need enough to swirl around but not too much.


The kids dropped food coloring on the corn syrup.  Do not use too much blue or green coloring as it will make your design far too dark.  I would recommend only 1-2 drops of the darker colors.


Then swirl the coloring around and around.  We used the back of a chubby paintbrush to do the swirling.


Matthew only used red and yellow coloring and it turned out so pretty.


It takes a long time to dry.  I'd recommend setting it out of the way for 2 to 3 days so that it won't be disturbed while it is drying.
The end result has such a pretty shine.


You could also pour corn syrup into an ice cube tray, mix the colors in and paint the syrup on with a paint brush.  This would result in a thinner layer of corn syrup and a shorter drying time.  We will probably try it like this the next time we craft with corn syrup!

Saturday, January 8, 2011

Book Inspired Art

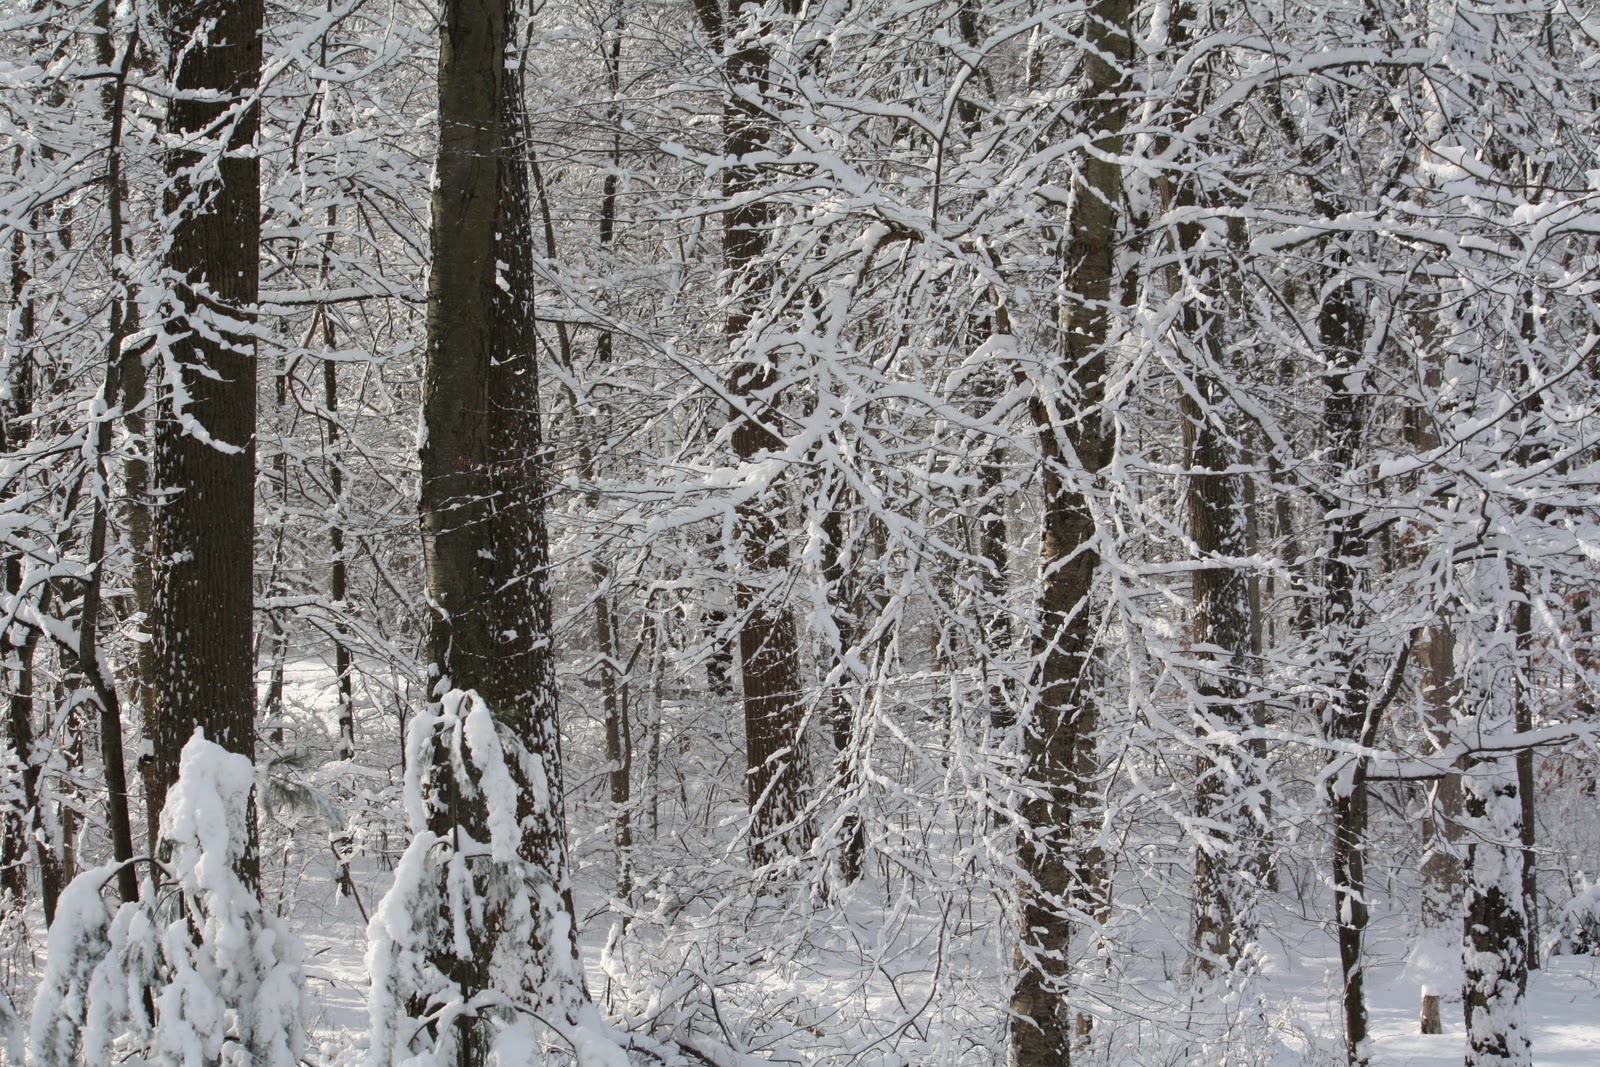
This morning Jillian had her first skating lesson.  She skated last year and did really well but we thought we would sign her up for some lessons, too.  The drive to and from the rink was absolutely beautiful.  All the trees were covered with snow and the view was amazing.  Here are some pictures from our backyard.


I wrote about this book yesterday.  We read it again today and loved how all the pictures were blue and white and looked so dramatic.

I found this great book inspired art project at Superheros and Princesses
I put painters tape on cardstock since this was the tricky part.


Then Sarah painted the paper dark blue and 'sprayed' on the white paint with an old toothbrush.


We then peeled off the tape and had our own dramatic winter scene like the book!  How great that a wonderful book inspired our craft for the day!


Sarah liked the craft but really wanted to join Jillian in making their own 'masterpieces'.  So they sat down with our easel and created their own blue and white scene.


And here they are......


Related Posts Plugin for WordPress, Blogger...